What to Expect During the Spray Foam Insulation Removal Process
What you need to know about the process.

If you're looking to remove spray foam insulation from your home or business, it's important to understand the process. Proper removal techniques are necessary to avoid damage to your property and ensure your safety. In this article, we'll provide a detailed breakdown of each step involved in removing spray foam insulation, from prepping the area to disposing of the waste materials.
Speak to a professional today, click here to get in touch with us.
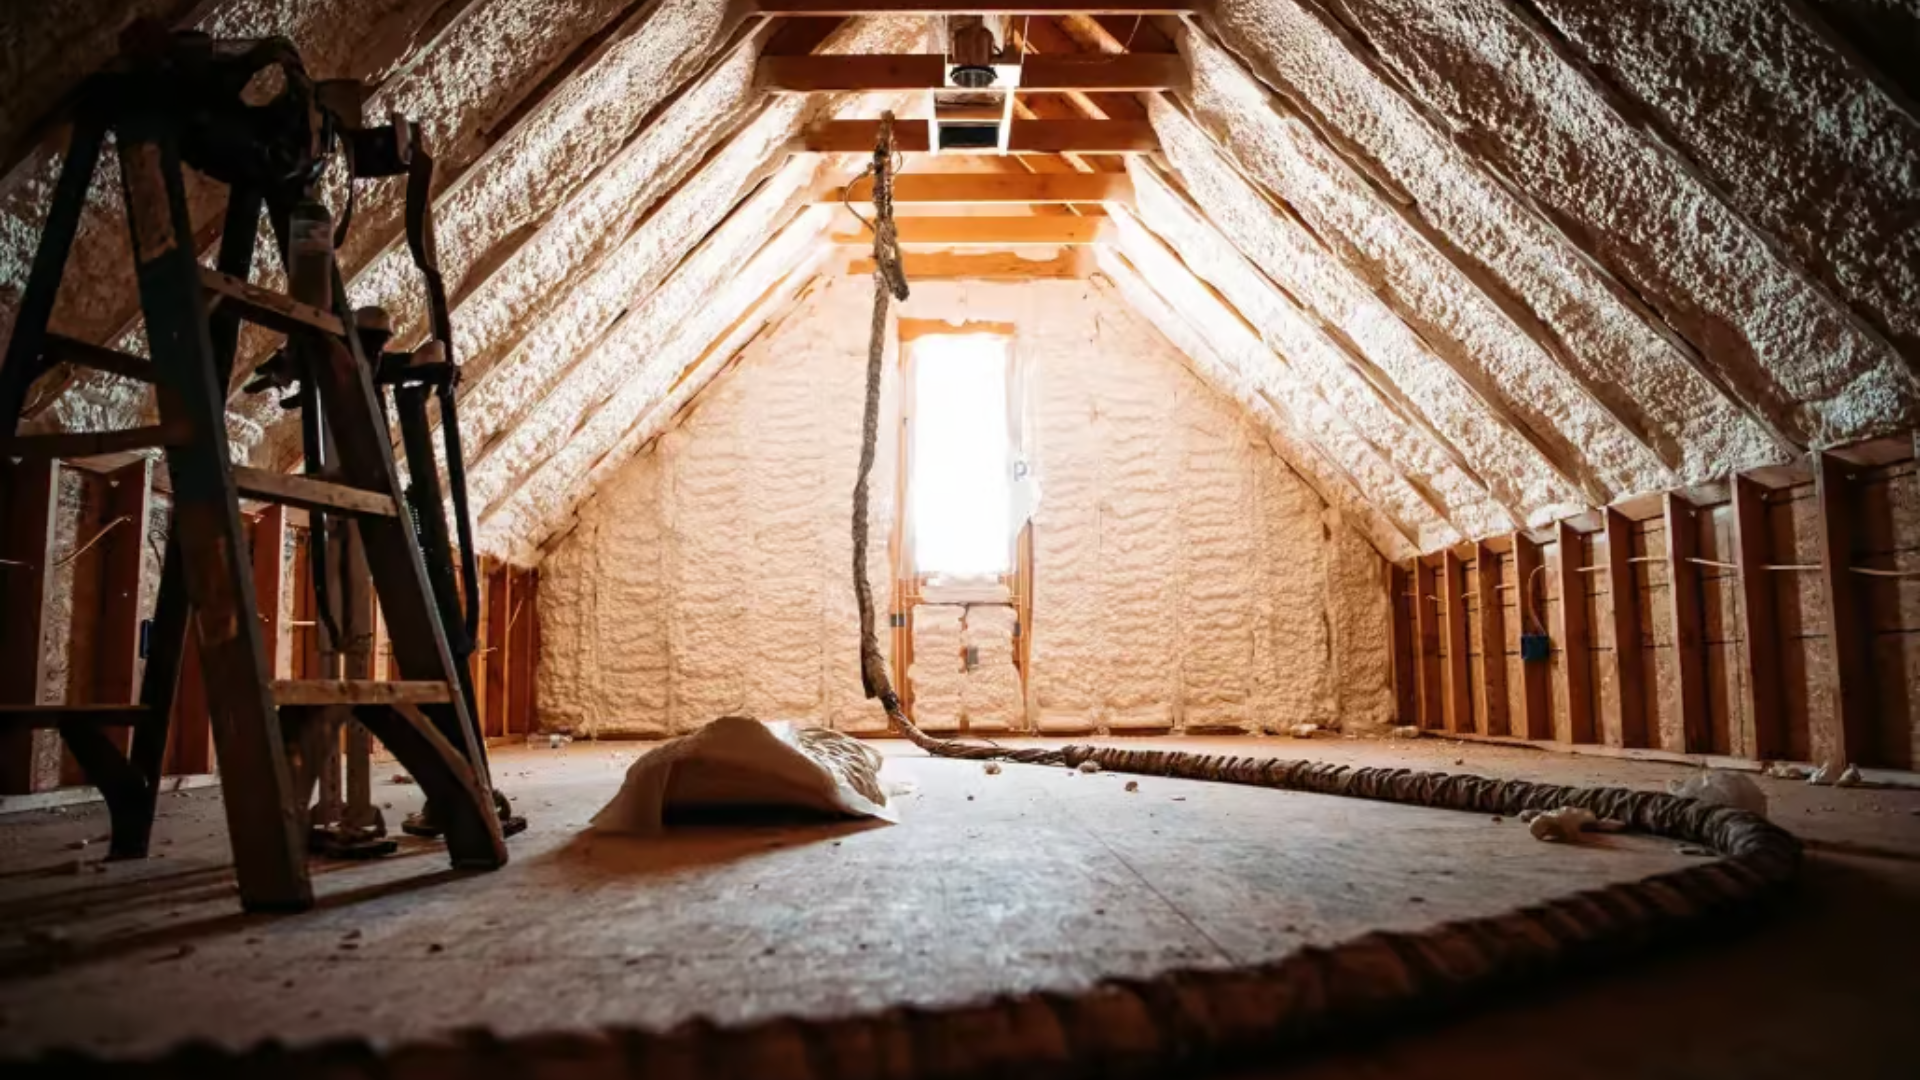
Spray foam insulation is a popular option for many homes and businesses due to its energy efficiency and effectiveness at reducing noise pollution. However, there may come a time when it needs to be removed. Whether it's due to damage, deterioration, or a change in building use, the process of removing spray foam insulation can be daunting. But with the right knowledge and techniques, it can be done safely and effectively.
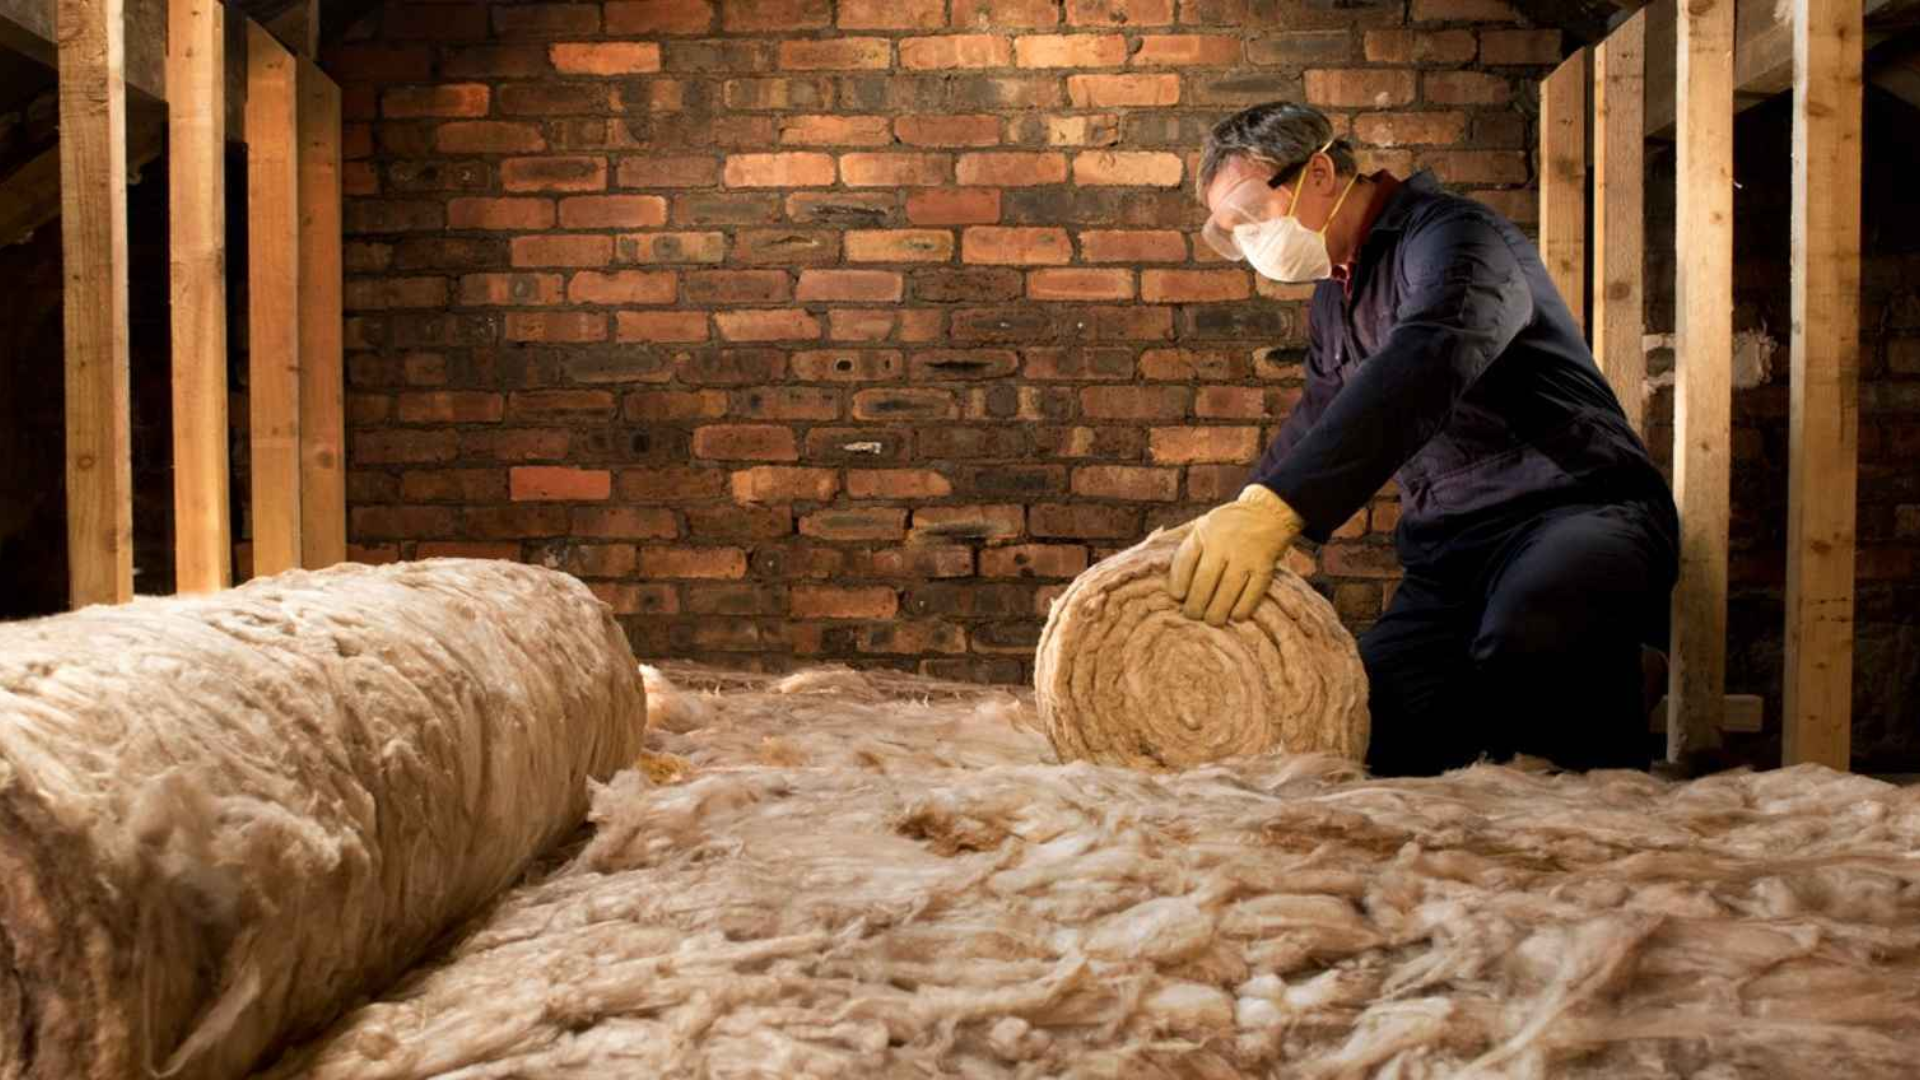
Safety Precautions
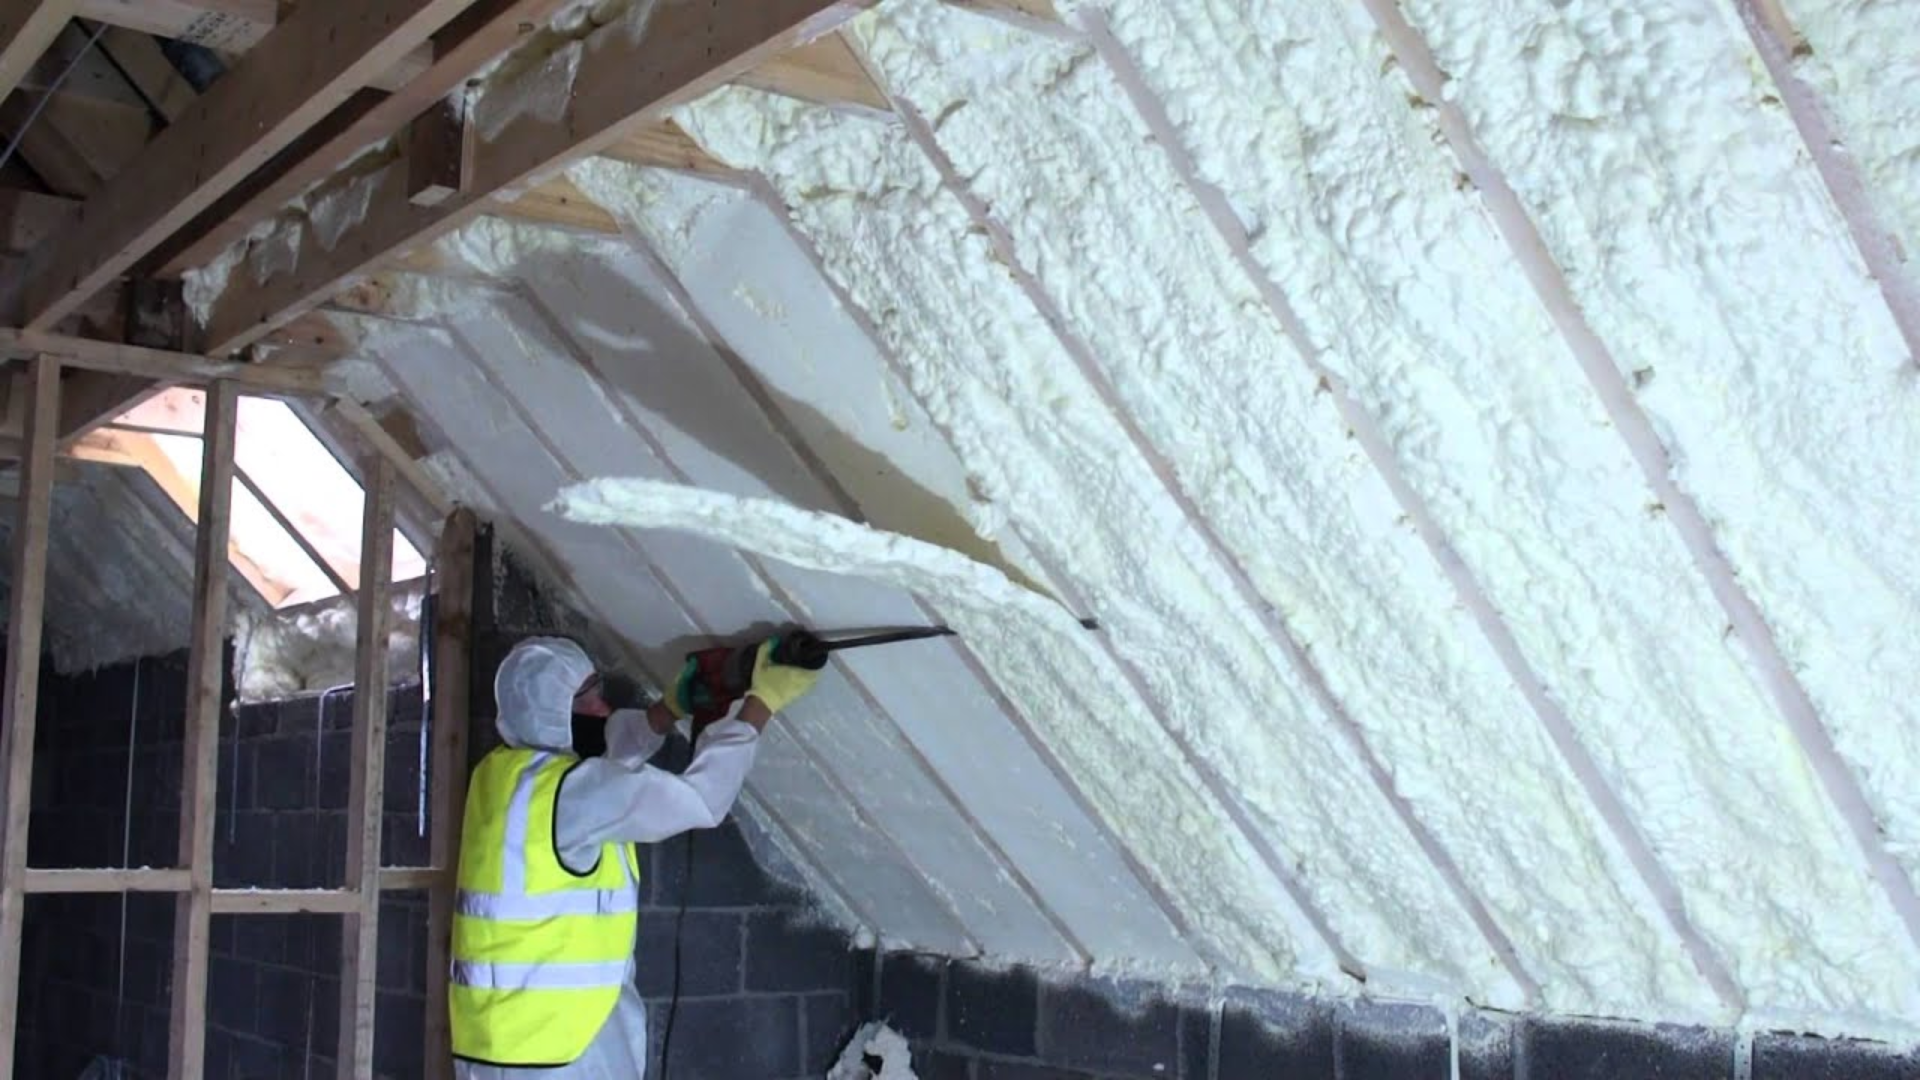
Before beginning any spray foam insulation removal project, it's important to take proper safety precautions. Spray foam insulation can be hazardous to your health if not handled correctly. Protective gear such as gloves, goggles, and a respirator should be worn at all times. If possible, it's also recommended to work in a well-ventilated area.
Preparing the Area
The next step is to prepare the area. This includes turning off all electrical power to the area where the spray foam insulation will be removed. The area should also be cleared of all furniture and other items. Cover the floors, walls, and any other surfaces with a protective sheet to prevent damage or staining.
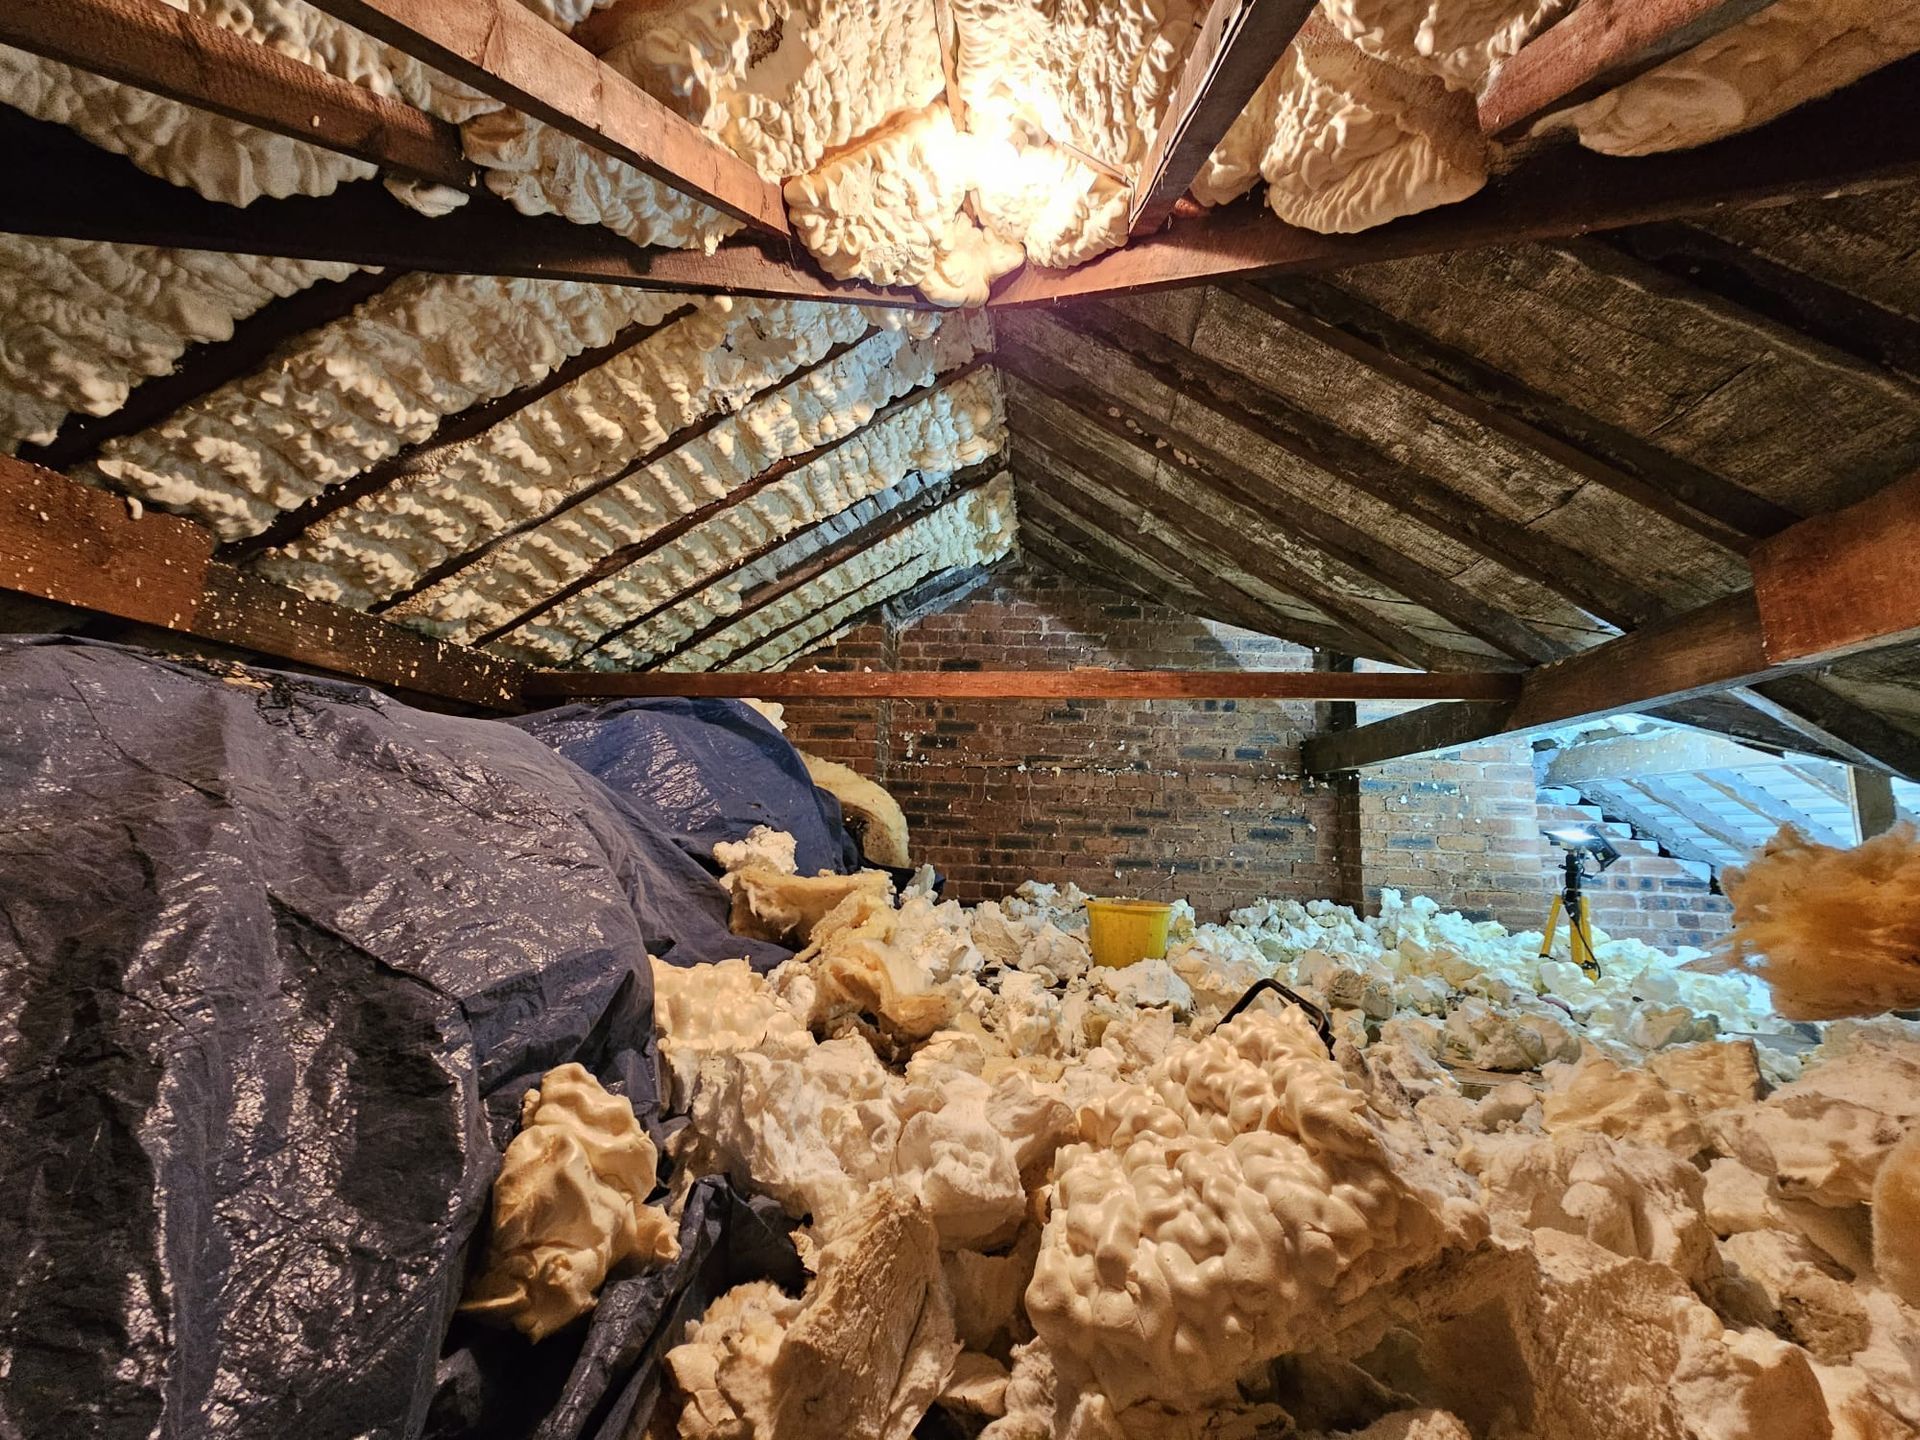
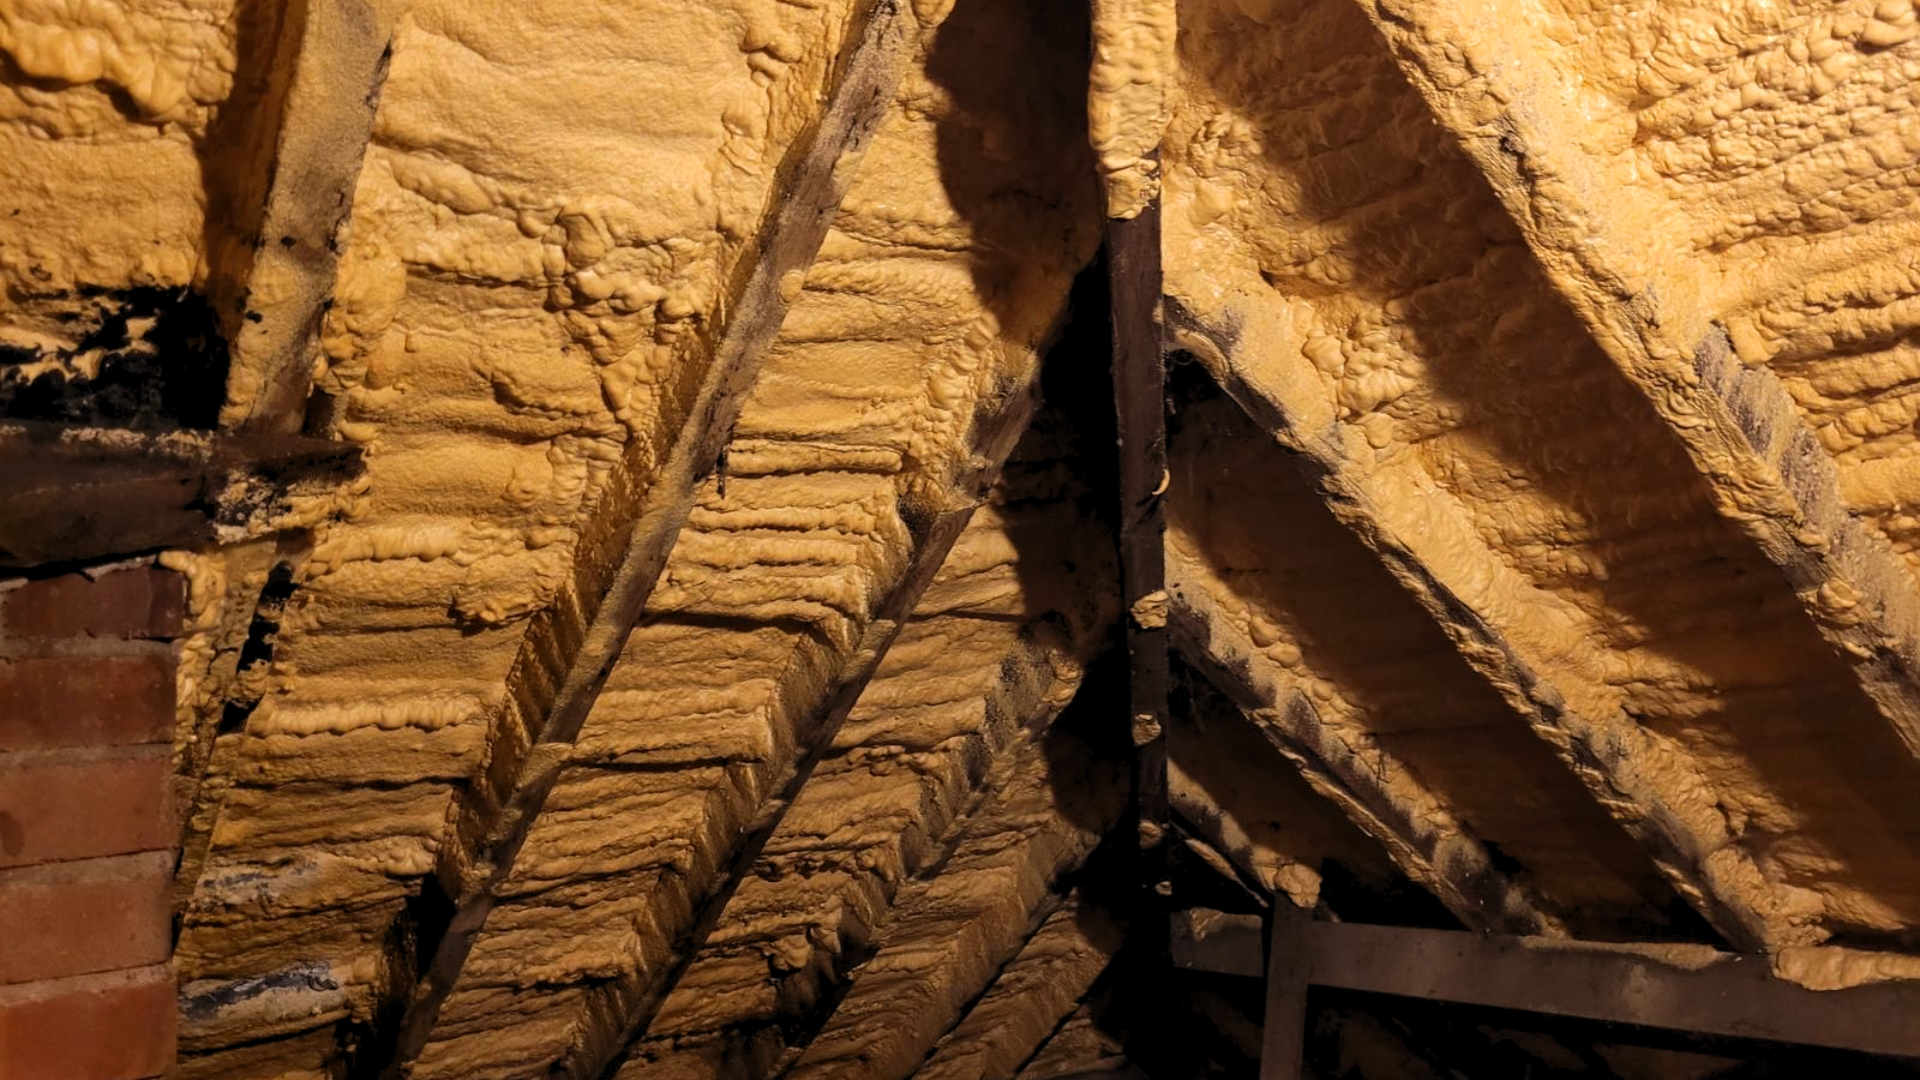
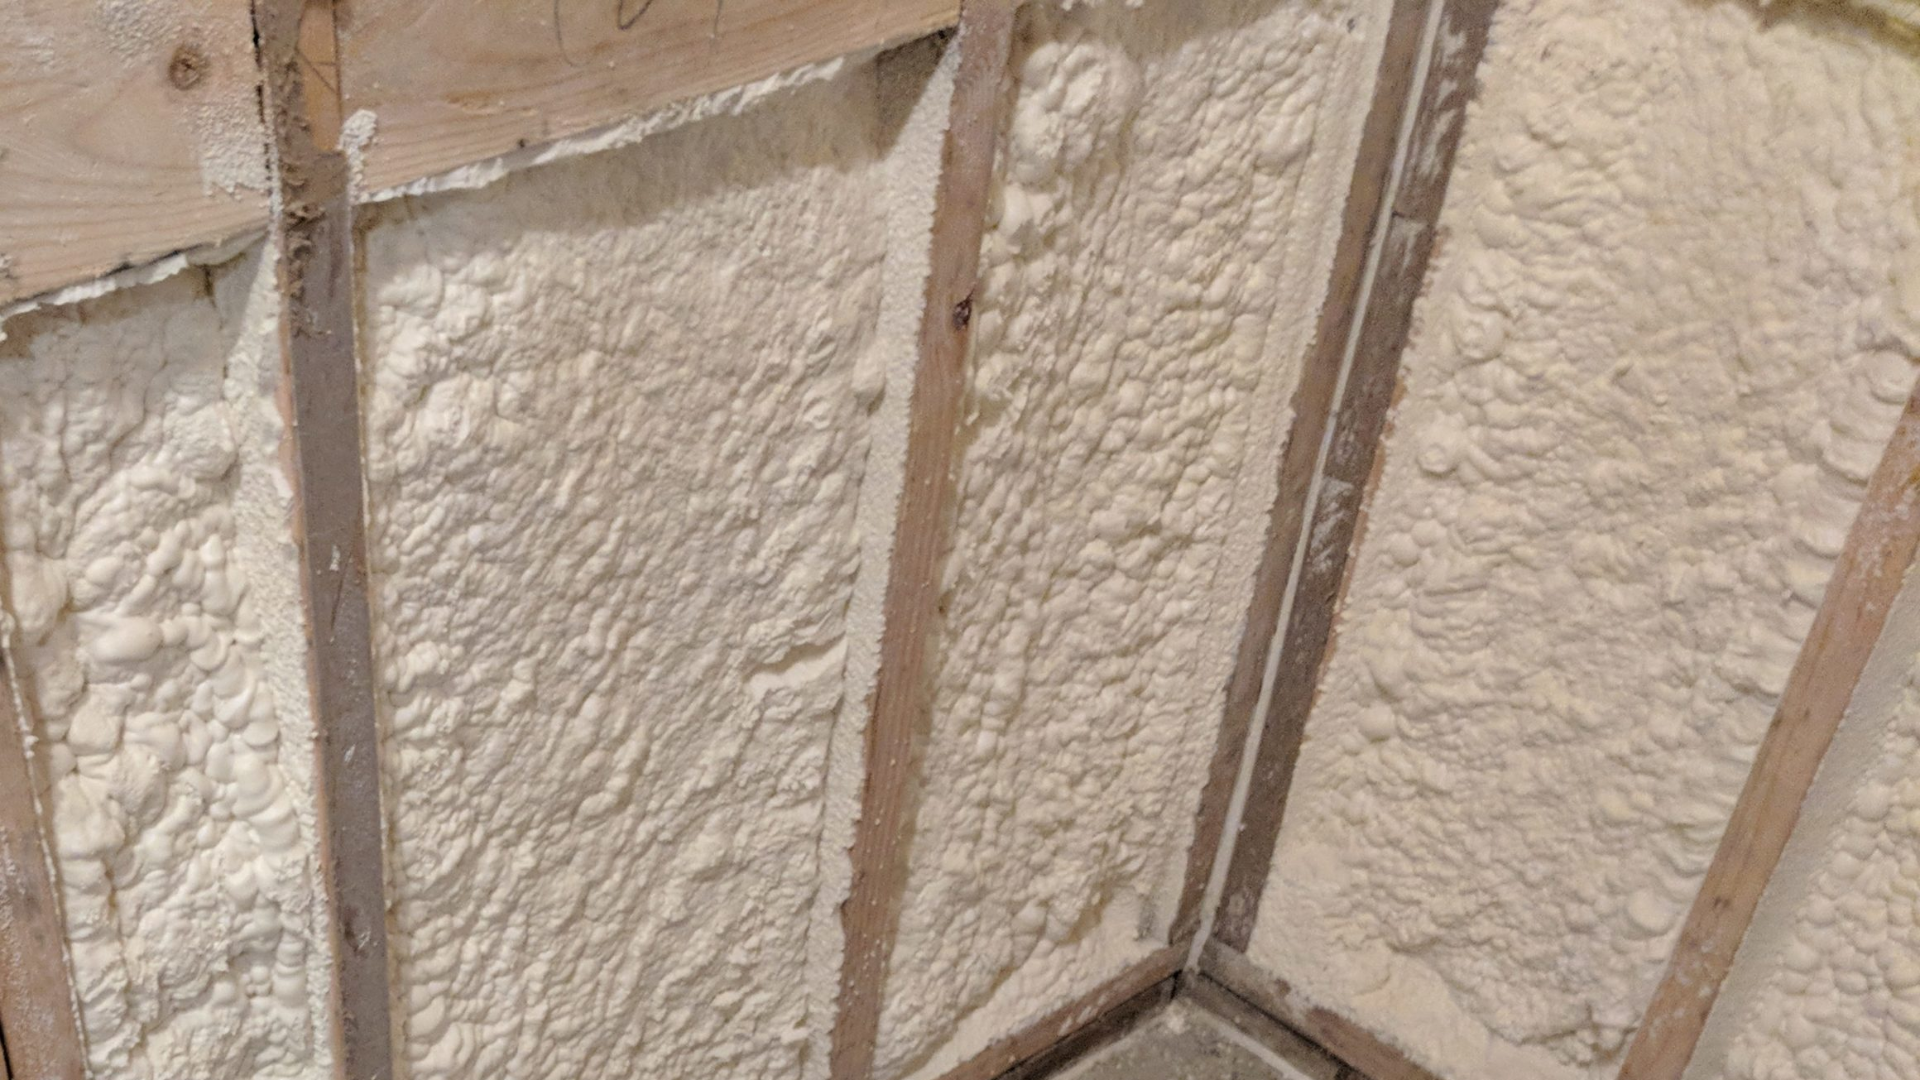
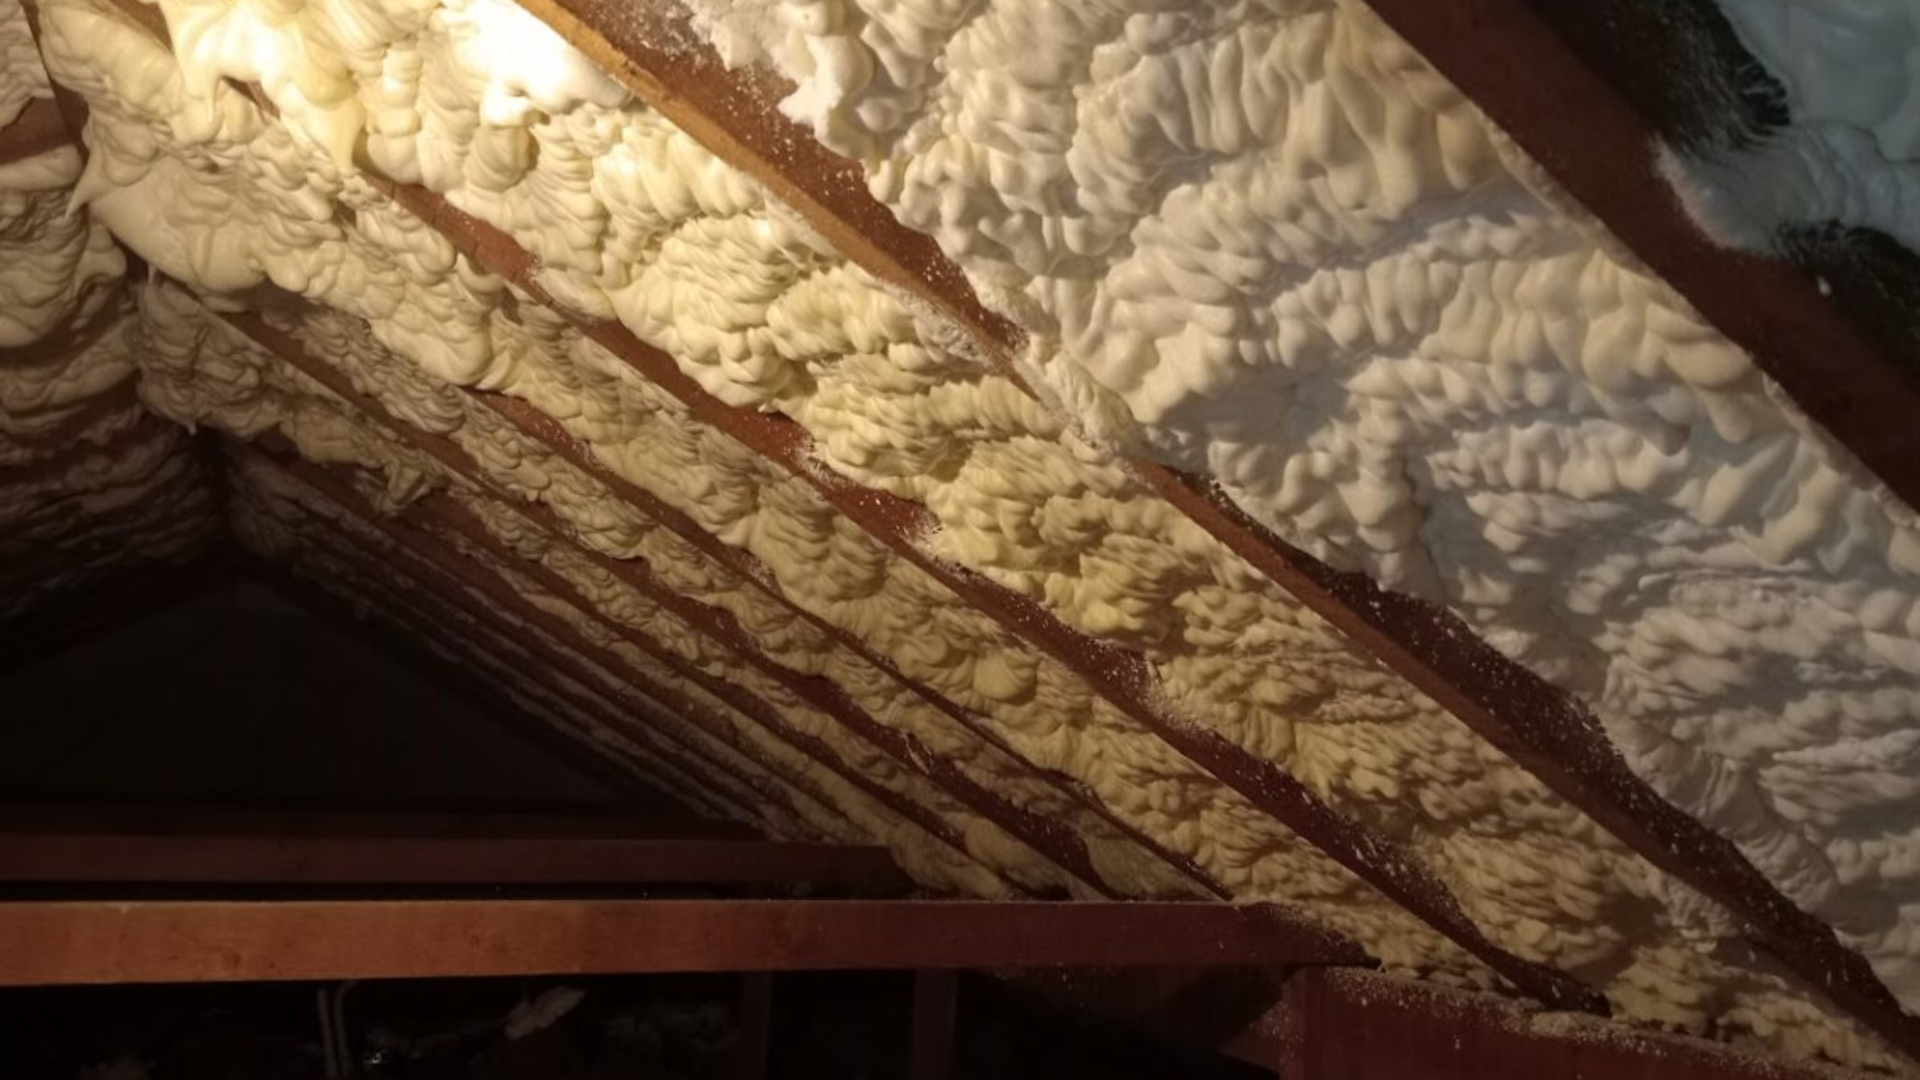
Removing the Spray Foam Insulation
The removal process involves cutting and scraping the foam insulation from the walls or ceiling. Start by making a small cut in the insulation and peeling it back. Using a serrated knife or a specialized insulation removal tool, cut the foam into smaller pieces and remove it from the area. Be sure to avoid damaging any wires or pipes during the process. It's important to work slowly and carefully to avoid creating unnecessary mess or damage.
Cleaning the Area
After the foam insulation has been removed, the next step is to clean the area thoroughly. Use a vacuum cleaner to remove any remaining debris or dust. Wipe down the surfaces with a damp cloth to remove any remaining residue.
Disposing of Waste Materials
The foam insulation must be disposed of properly. It cannot be recycled, so it must be taken to a landfill. It's important to follow the proper procedures for disposing of hazardous waste. Contact your local waste management facility for specific instructions on how to dispose of foam insulation.
Inspection and Verification
After the removal process is complete, it's important to inspect the area to ensure all foam insulation has been removed. Use a flashlight to check for any remaining debris or foam particles. Once you've confirmed the area is clean, verify that all electrical power can be safely turned back on.
Removing spray foam insulation can be a challenging task, but with the proper knowledge and techniques, it can be done safely and effectively. It's important to take proper safety precautions and to follow the steps outlined in this article to ensure the process is done correctly.
Get in touch with our team of professionals today, click here to get your quote.
Book an appointment