Safe spray foam removal methods
Tips for removing spray foam insulation
Welcome to Lofteaze's comprehensive guide on effective spray foam removal. At Lofteaze, we understand the importance of maintaining a well-insulated home. However, there are times when you might need to remove or replace
your existing spray foam insulation. Whether you're dealing with a DIY project or seeking professional assistance, our top 5 tips for removing spray foam insulation will ensure a smooth and successful process.
Tip 1 - Gather the Necessary Tools
When it comes to removing spray foam insulation, having the right tools is crucial. Here at Lofteaze, we recommend the following essential tools:
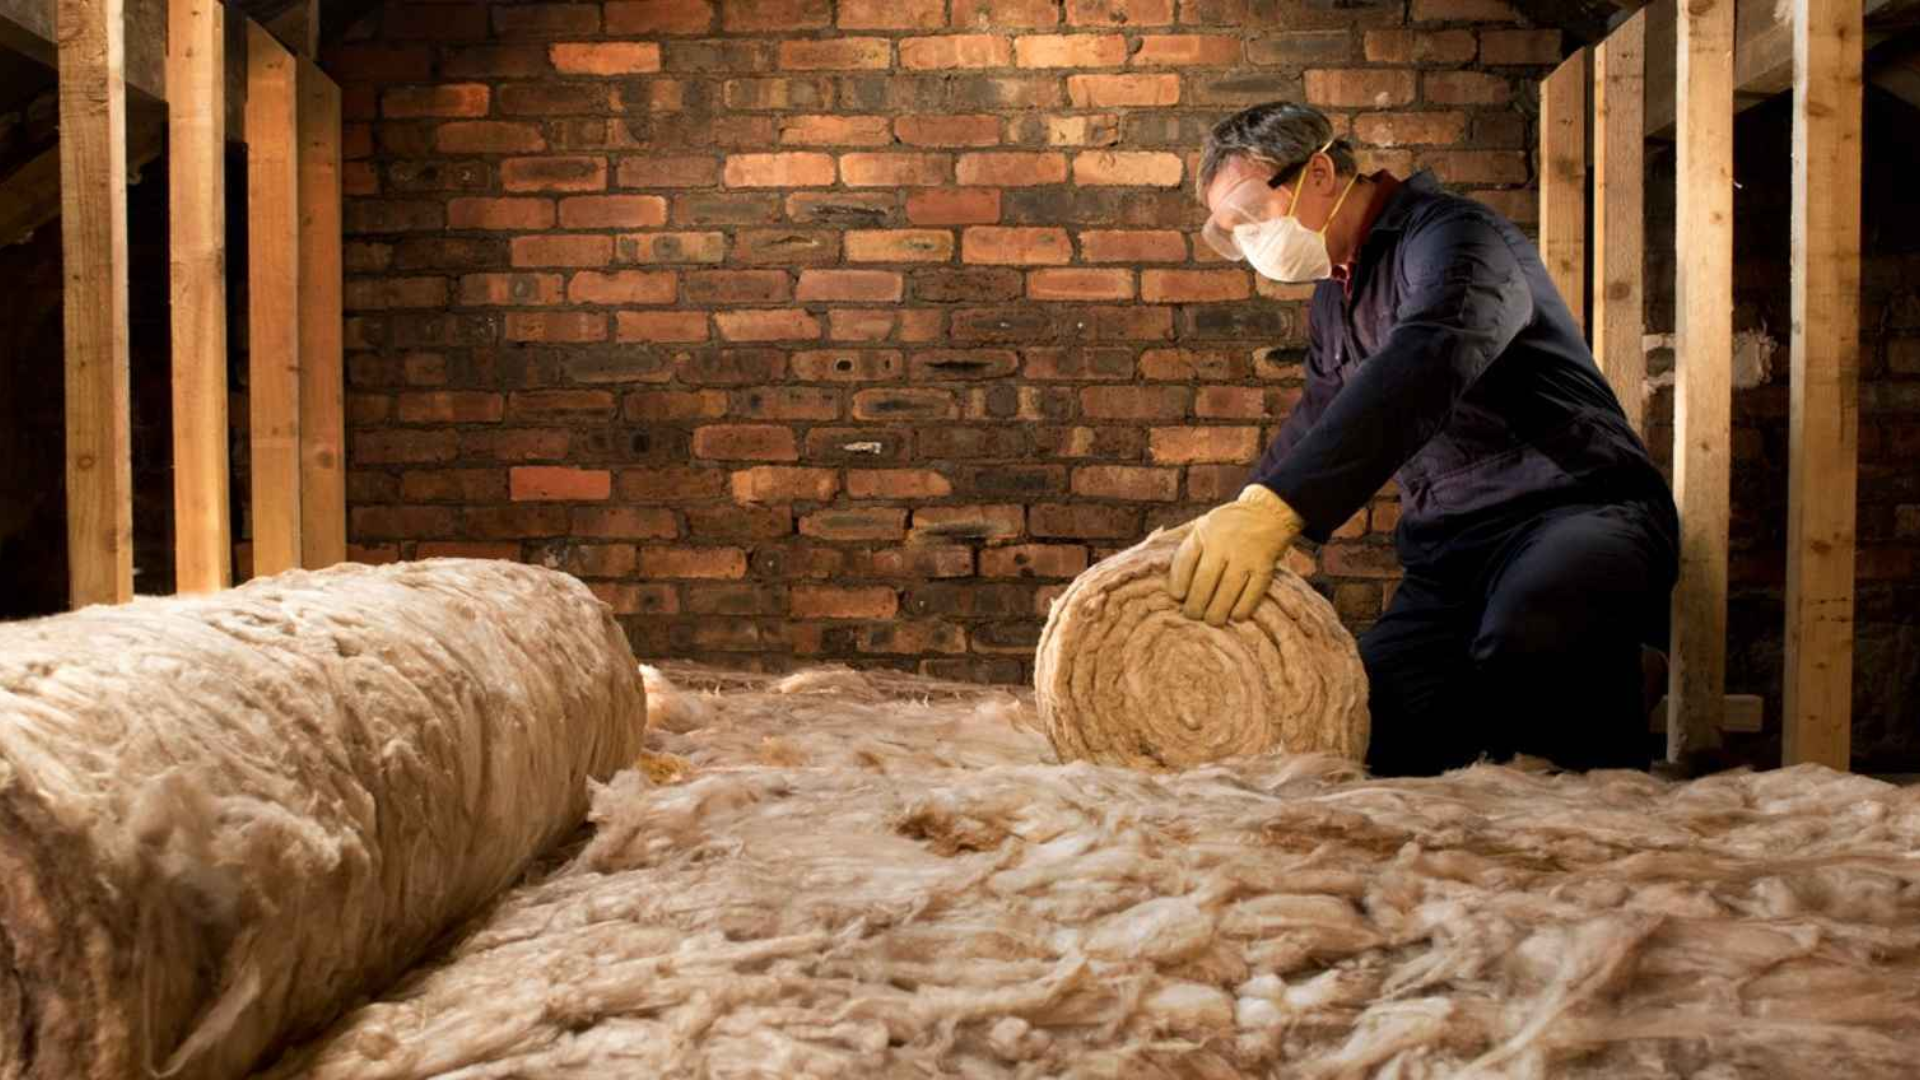
Safety Gear
- Safety goggles
- Gloves
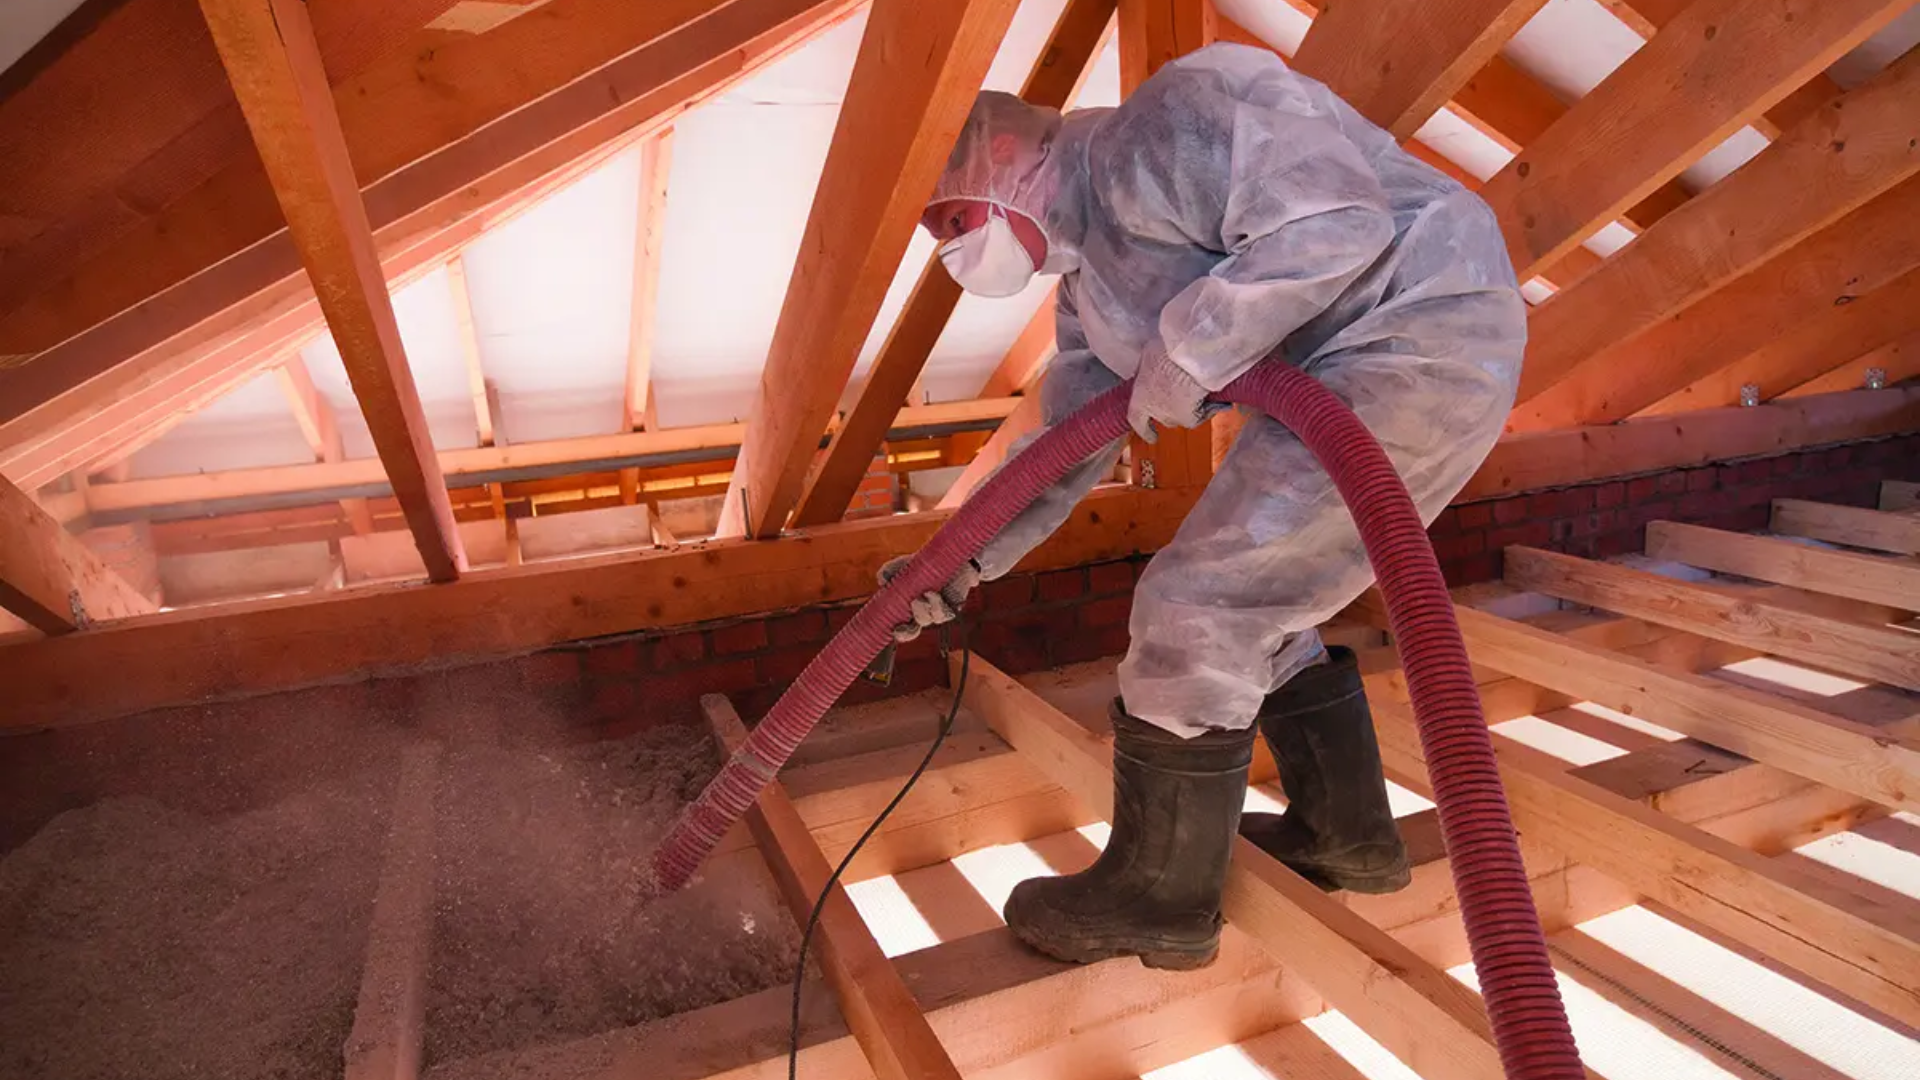
- Protective clothing
- Respirator mask
Personal Anecdote: Our team at Lofteaze once encountered a situation where the lack of proper safety gear resulted in an accident. It reinforced our commitment to safety during insulation removal.
Removal Tools
- Utility knife
- Wire brush
- Saw
- Vacuum cleaner with HEPA filter
Investing in high-quality tools not only ensures a more efficient removal process but also minimises the risk of accidents and injuries.
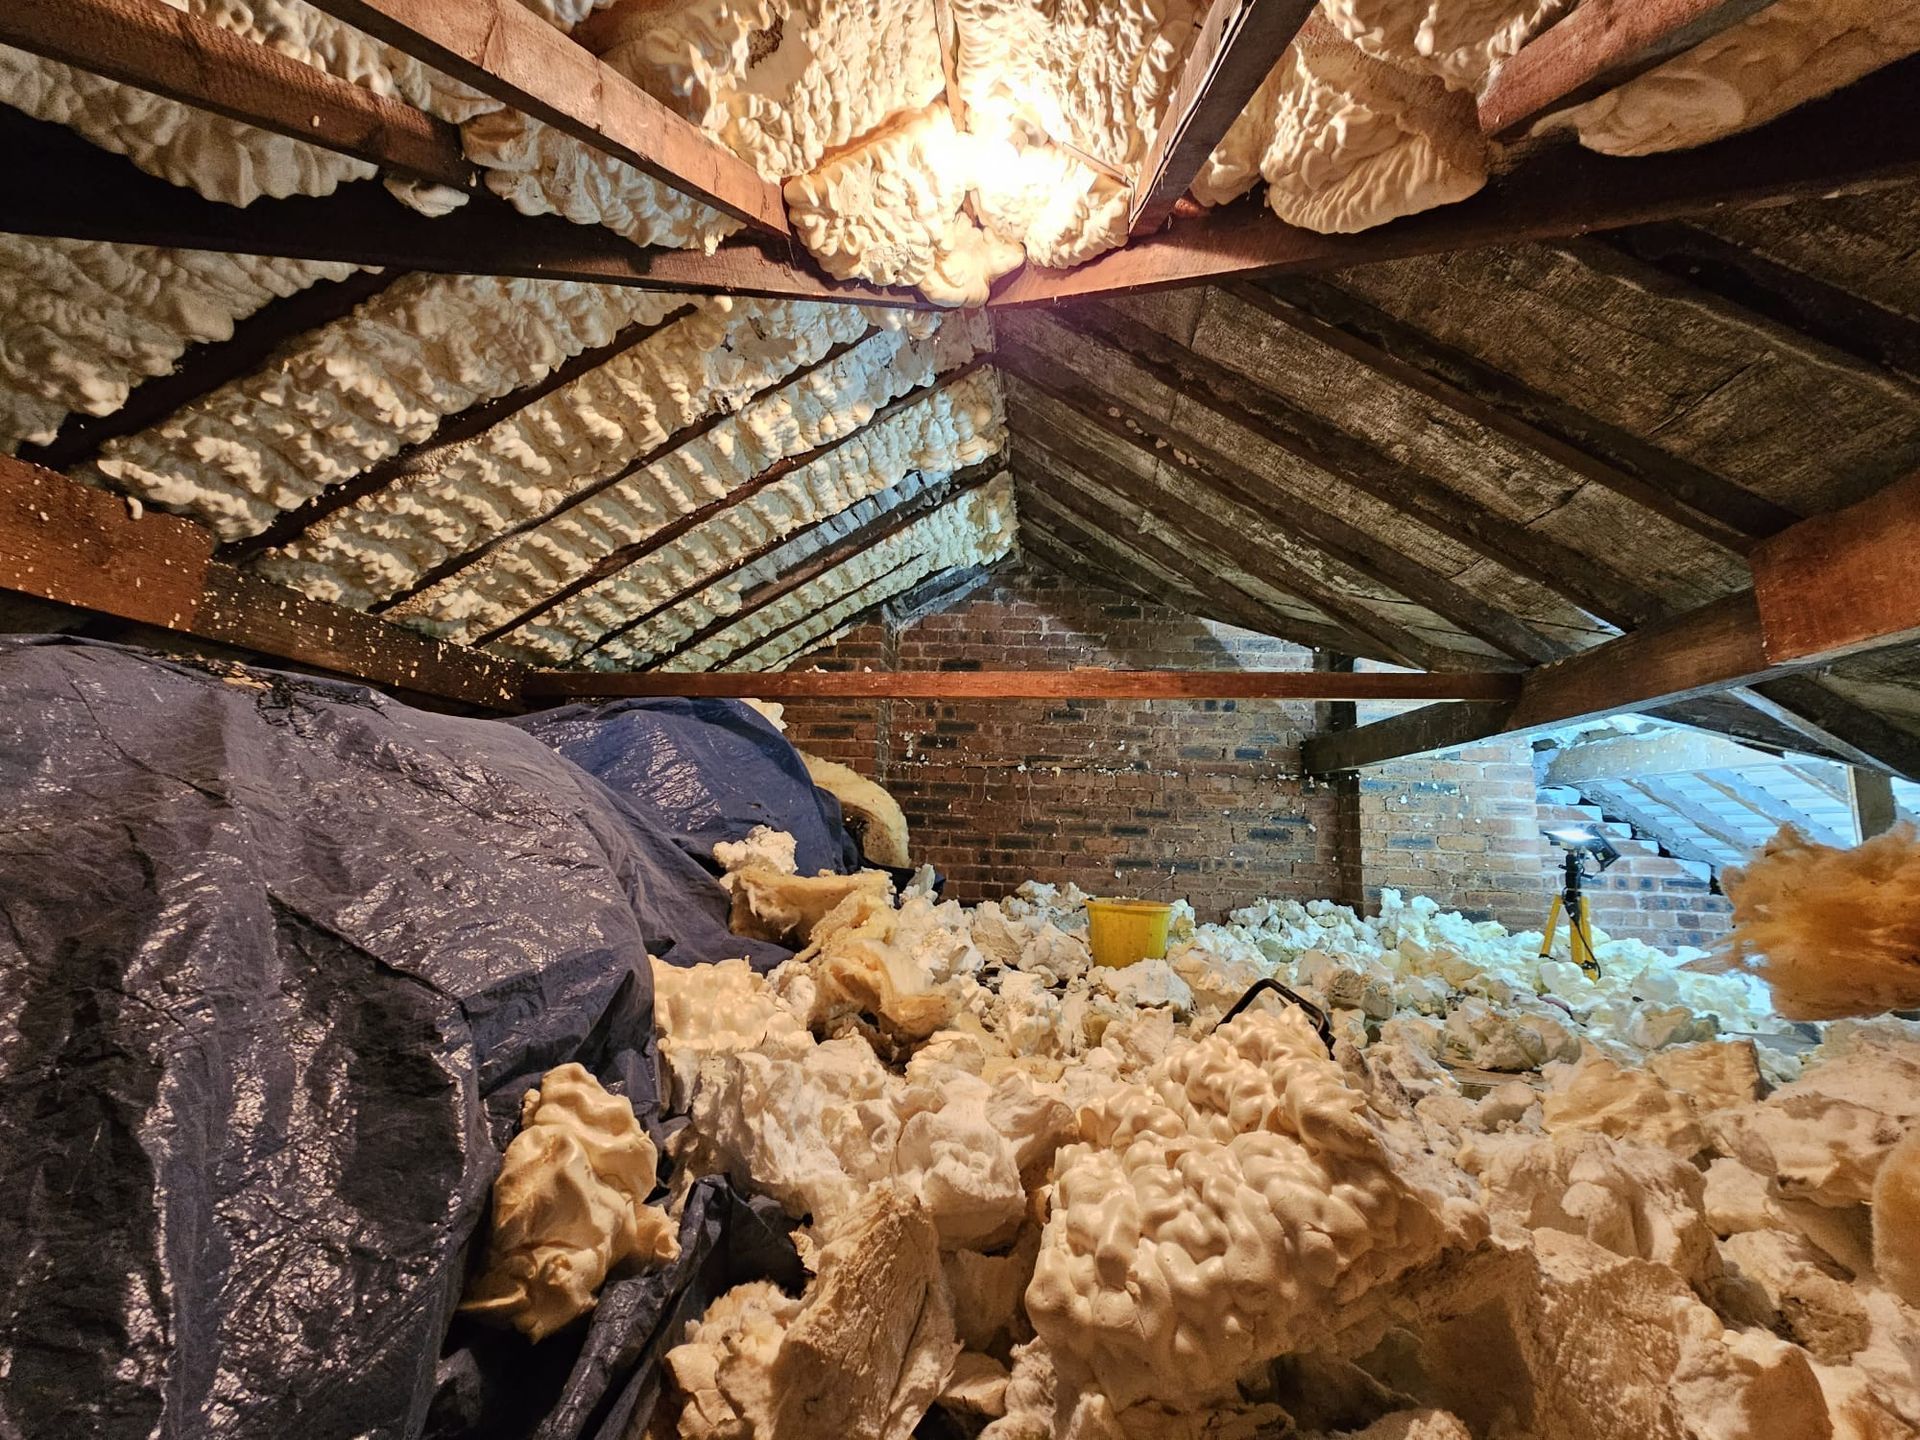
Tip 2 - Assess the Scope of the Project
Before you begin, it's essential to assess the scope of your spray foam insulation removal project:
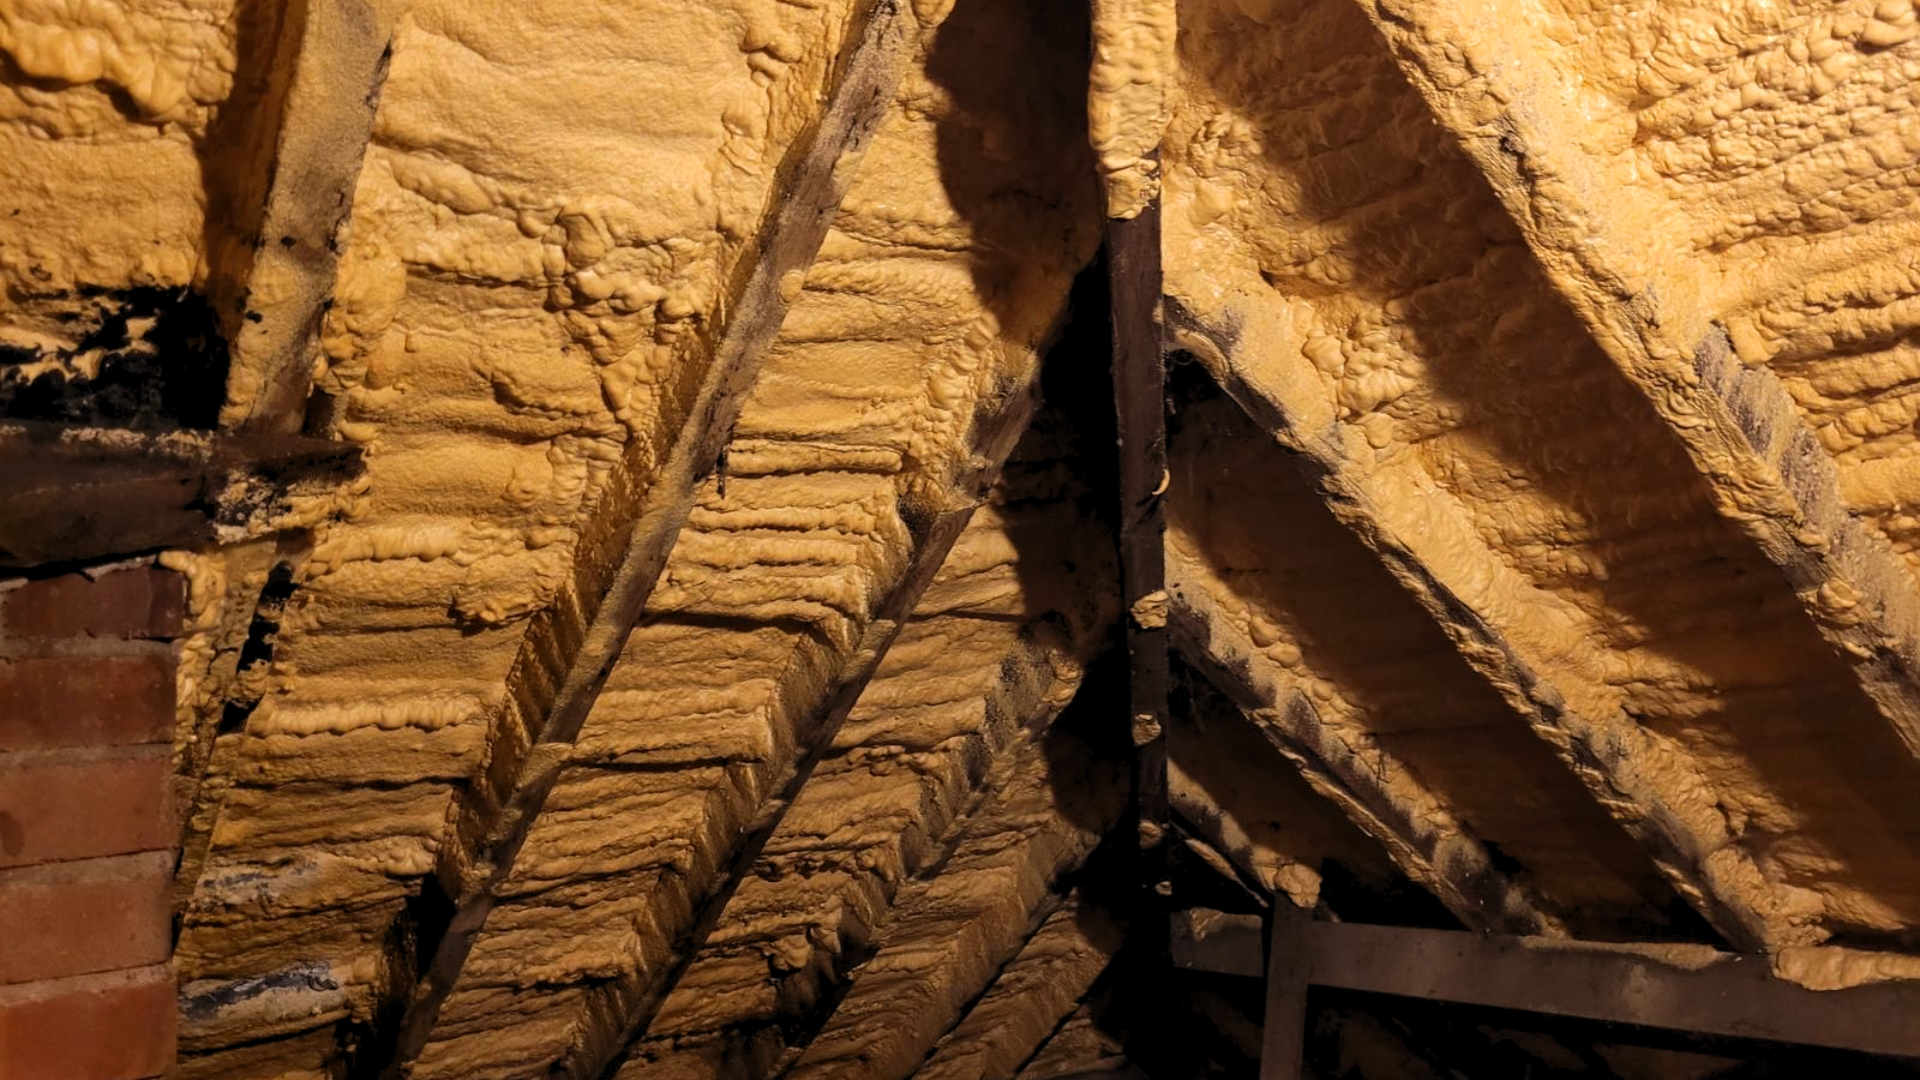
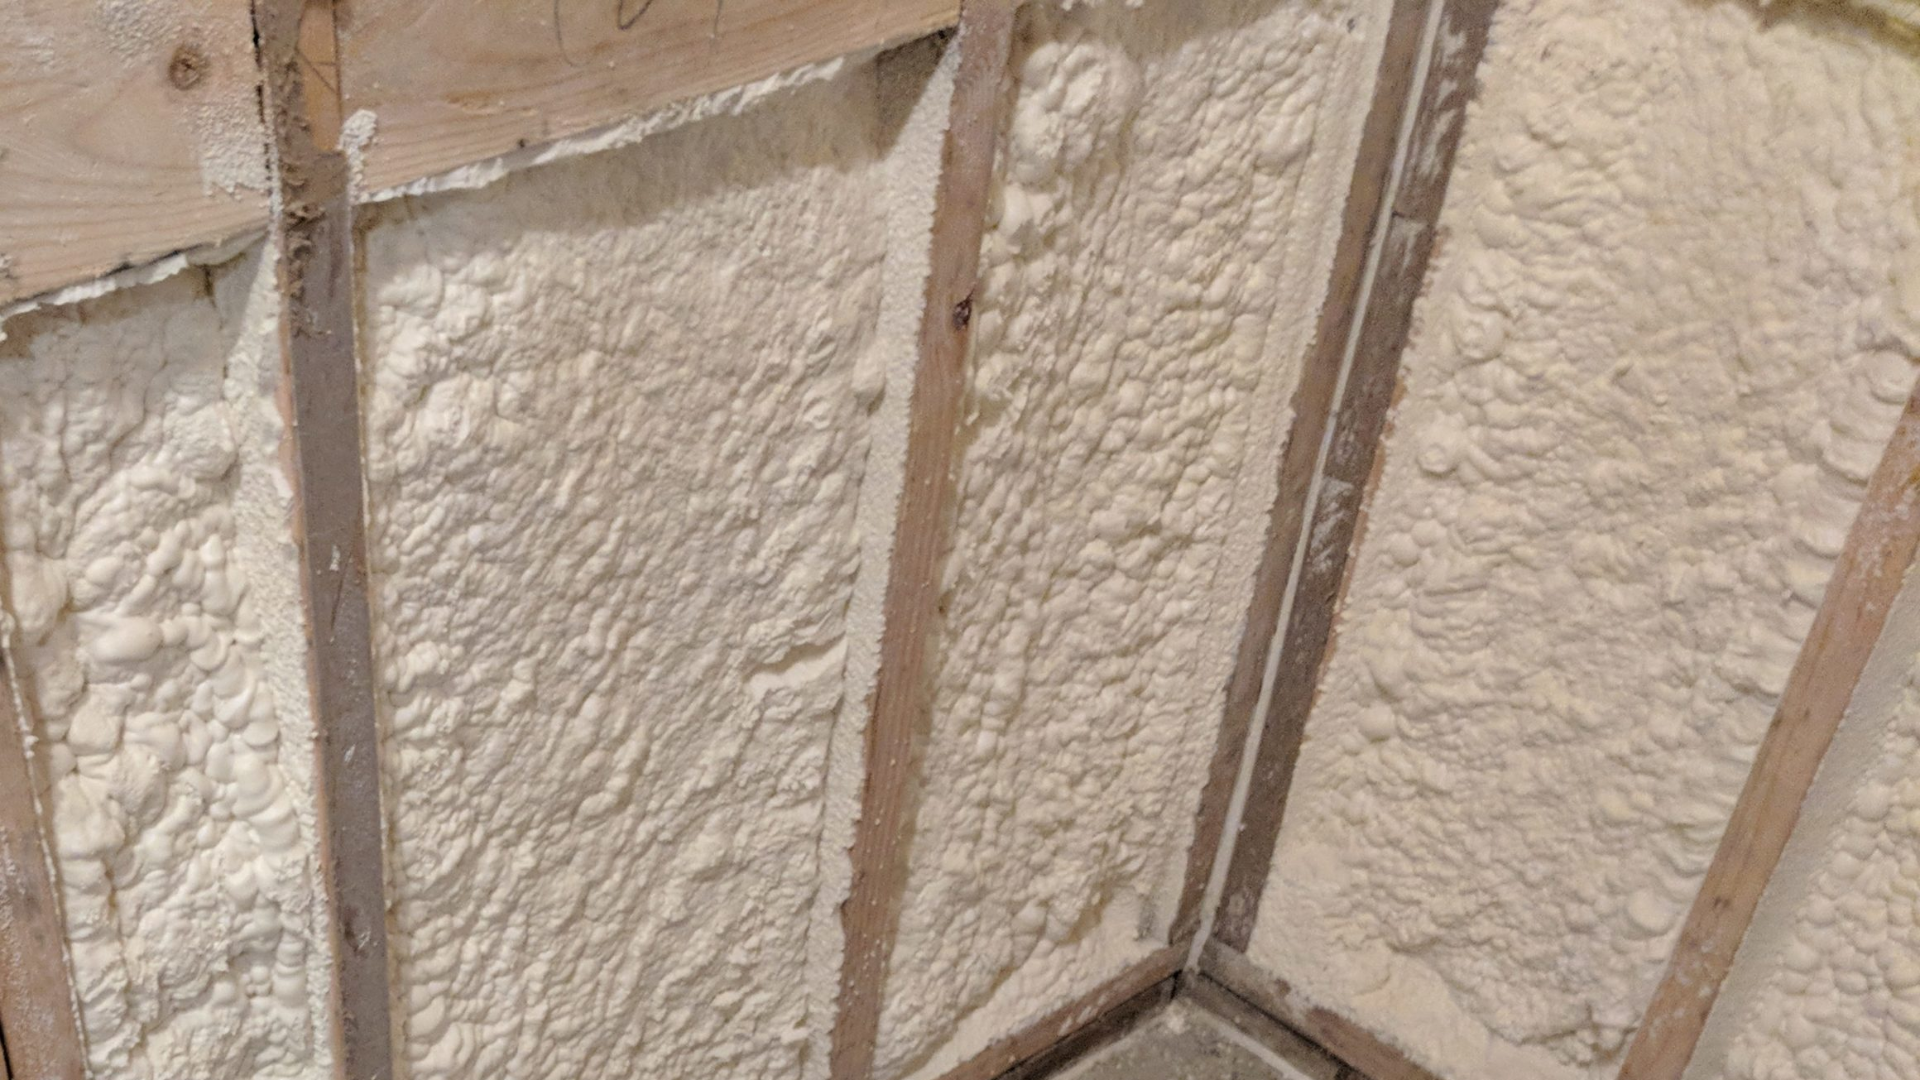
Identify Problem Areas
- Inspect the insulation for damage or moisture.
- Locate areas with deteriorating or ineffective insulation.
At Lofteaze, our experts are skilled at identifying problem areas and can offer tailored solutions for your specific needs.
Tip 3 - Plan the Removal Process
Planning is key to any successful project, and removing spray foam insulation is no exception:
Create a Removal Plan
- Decide whether you're tackling the entire job or specific sections.
- Establish a sequence for removal.
- Allocate sufficient time for the project.
By planning meticulously, you can ensure that the removal process proceeds smoothly and efficiently, reducing the risk of errors.
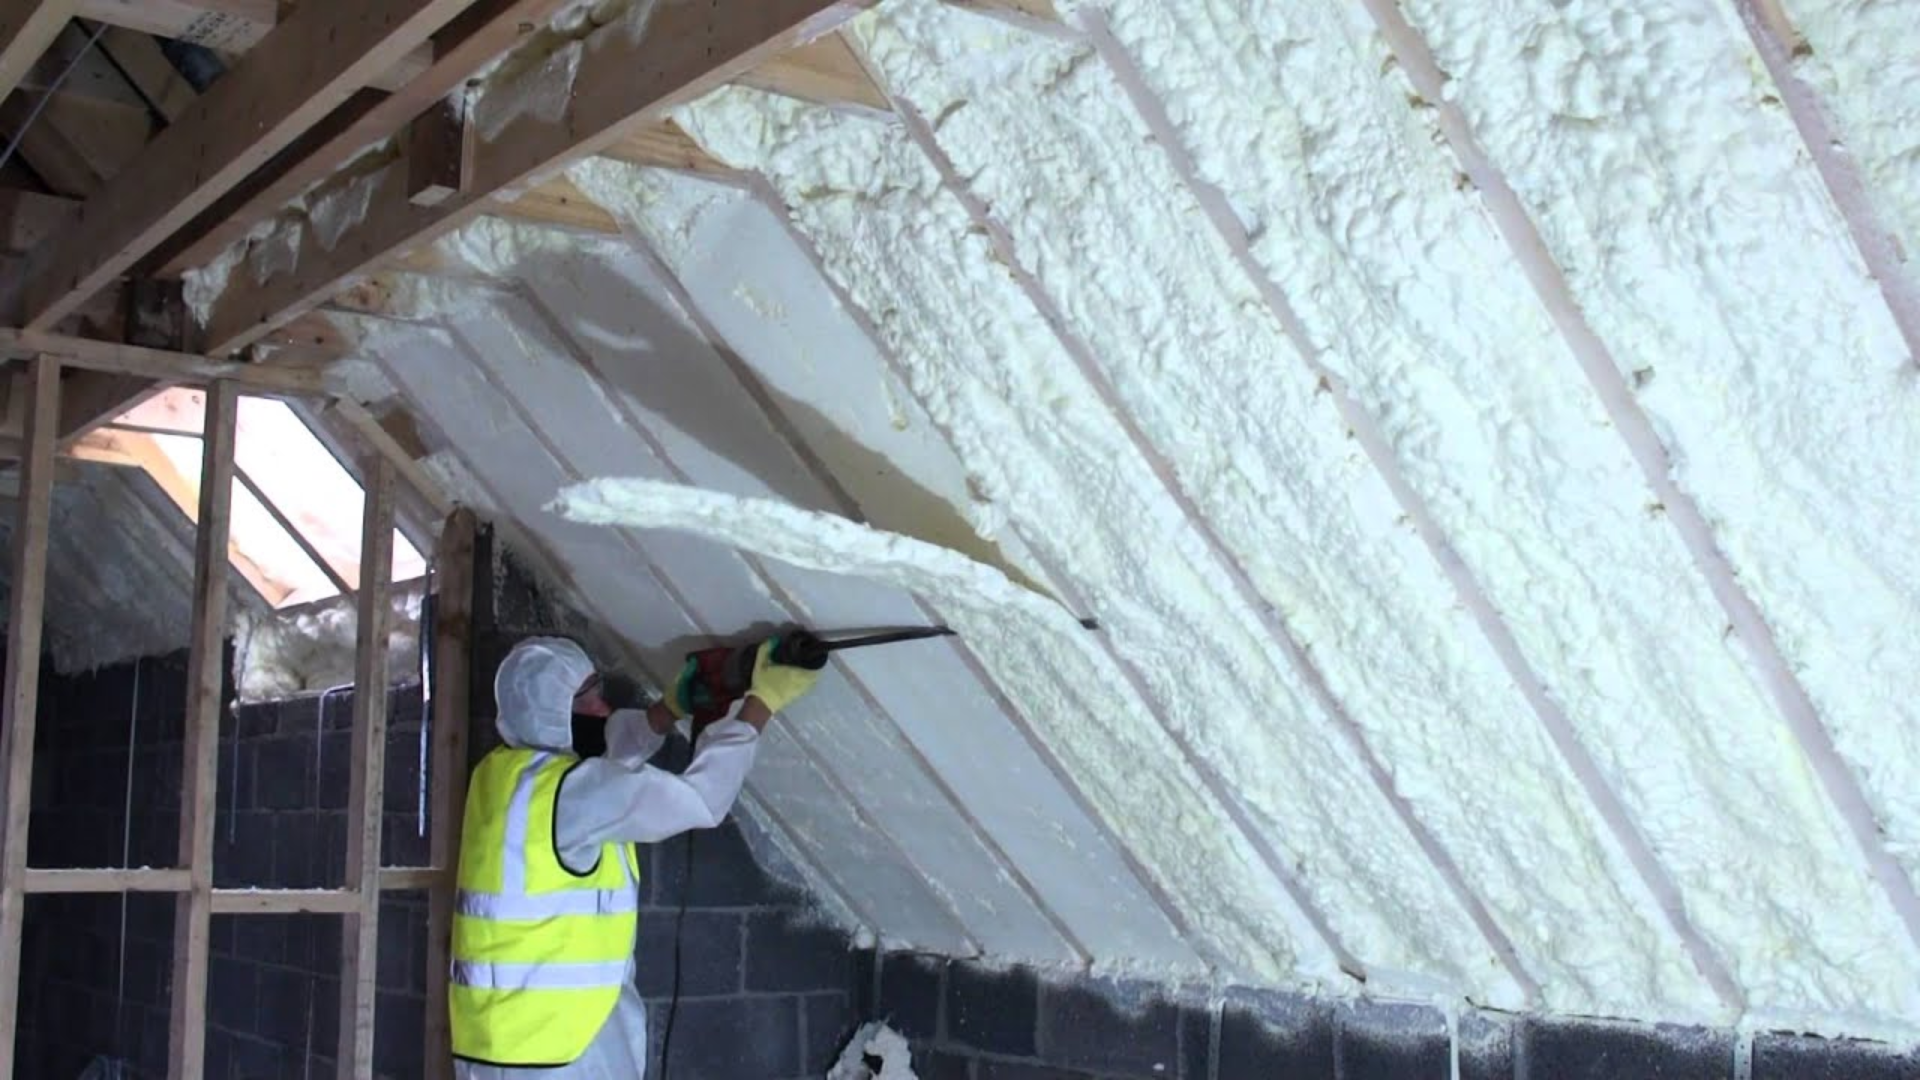
Tip 4 - Safe Removal Techniques
Safety should always be a top priority when removing spray foam insulation. Here are some safe removal techniques:
Ventilation
- Ensure proper ventilation in the removal area to minimise exposure to fumes.
- Use fans or open windows if working indoors.
Minimise Dust
- Spray foam insulation removal can generate dust particles. Use a vacuum cleaner with a HEPA filter to minimise airborne particles.
Avoid Open Flames
- Never use open flames or heat sources near spray foam insulation, as it can be highly flammable.
At Lofteaze, we take safety seriously and follow strict safety protocols during all our removal projects.
Tip 5 - Proper Disposal and Cleanup
Once you've successfully removed the spray foam insulation, it's crucial to handle disposal and cleanup responsibly:
Disposal
- Check local regulations for disposing of insulation materials.
- Use designated disposal sites or recycling centres.
- Avoid illegal dumping, which can harm the environment.
Thorough Cleanup
- Clean the removal area thoroughly to remove any remaining residue.
- Dispose of used safety gear and contaminated materials properly.
Lofteaze is committed to eco-friendly disposal practices and follows all environmental guidelines for insulation disposal.
Conclusion
In conclusion, effective spray foam insulation removal requires careful planning, the right tools, safety precautions, and responsible disposal. At Lofteaze, we're dedicated to providing expert guidance and services for all your insulation needs.
If you're facing a spray foam insulation removal project and need professional assistance, don't hesitate to contact us at Lofteaze. Our experienced team is here to help you with safe and efficient insulation removal. Visit our contact page on our website to get in touch, and let us make your home improvement project a breeze. Your comfort and safety are our top priorities, and we're just a click away to assist you.
Book an appointment