Quick and Easy Spray Foam Insulation Removal Guide – A DIY Must-Try!
DIY guide for quick spray foam insulation removal
Welcome to our comprehensive guide on spray foam insulation removal, brought to you by Lofteaze. If you're a dedicated DIY enthusiast, we understand the importance of tackling home improvement projects independently. Spray foam insulation, while excellent for energy efficiency, can become a challenge when it needs to be removed. Whether you're renovating your space, correcting installation errors, or addressing damage, our DIY guide will provide you with the essential steps and tips for a successful insulation removal process.
Understanding Spray Foam Insulation Removal
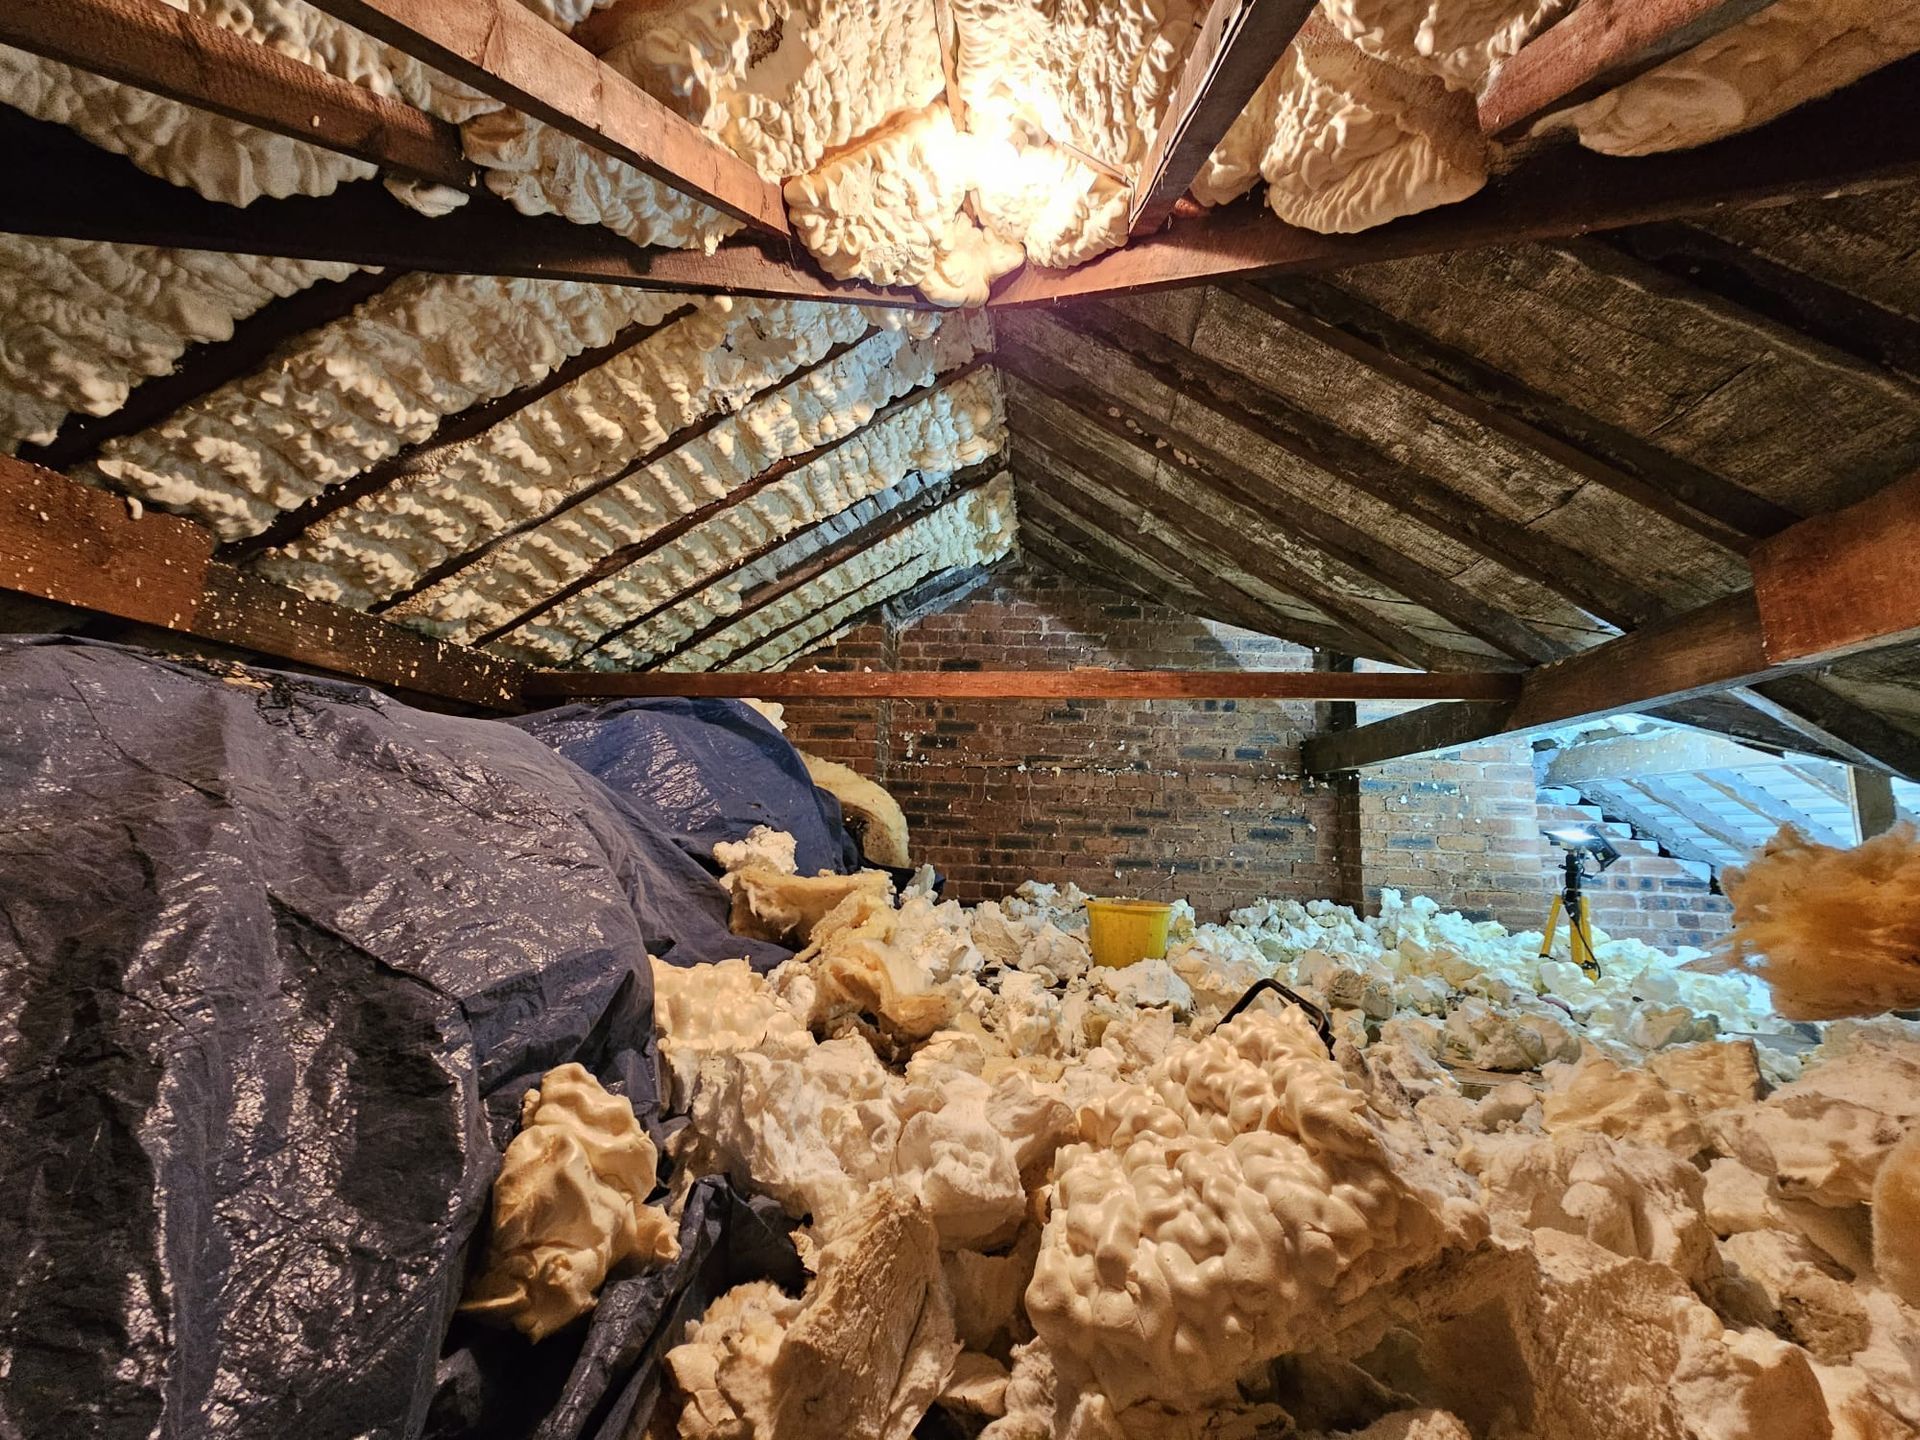
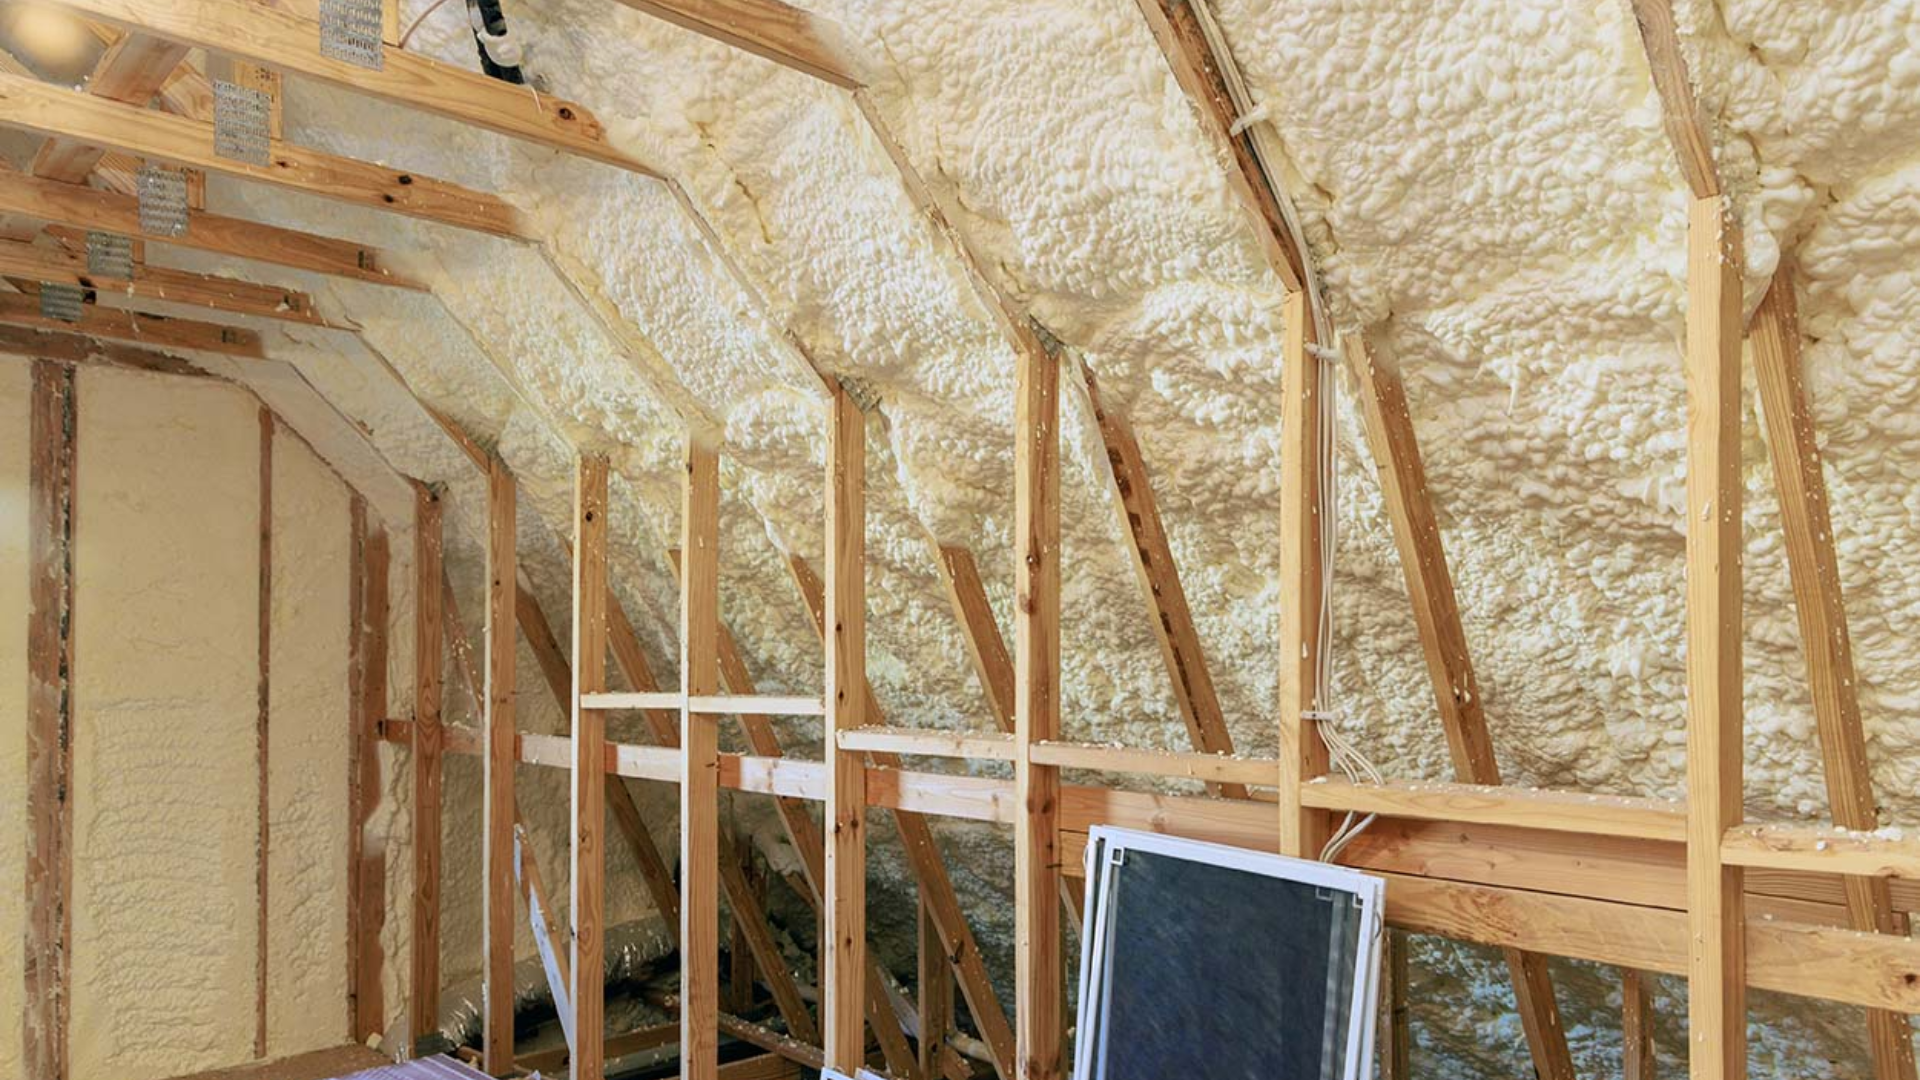
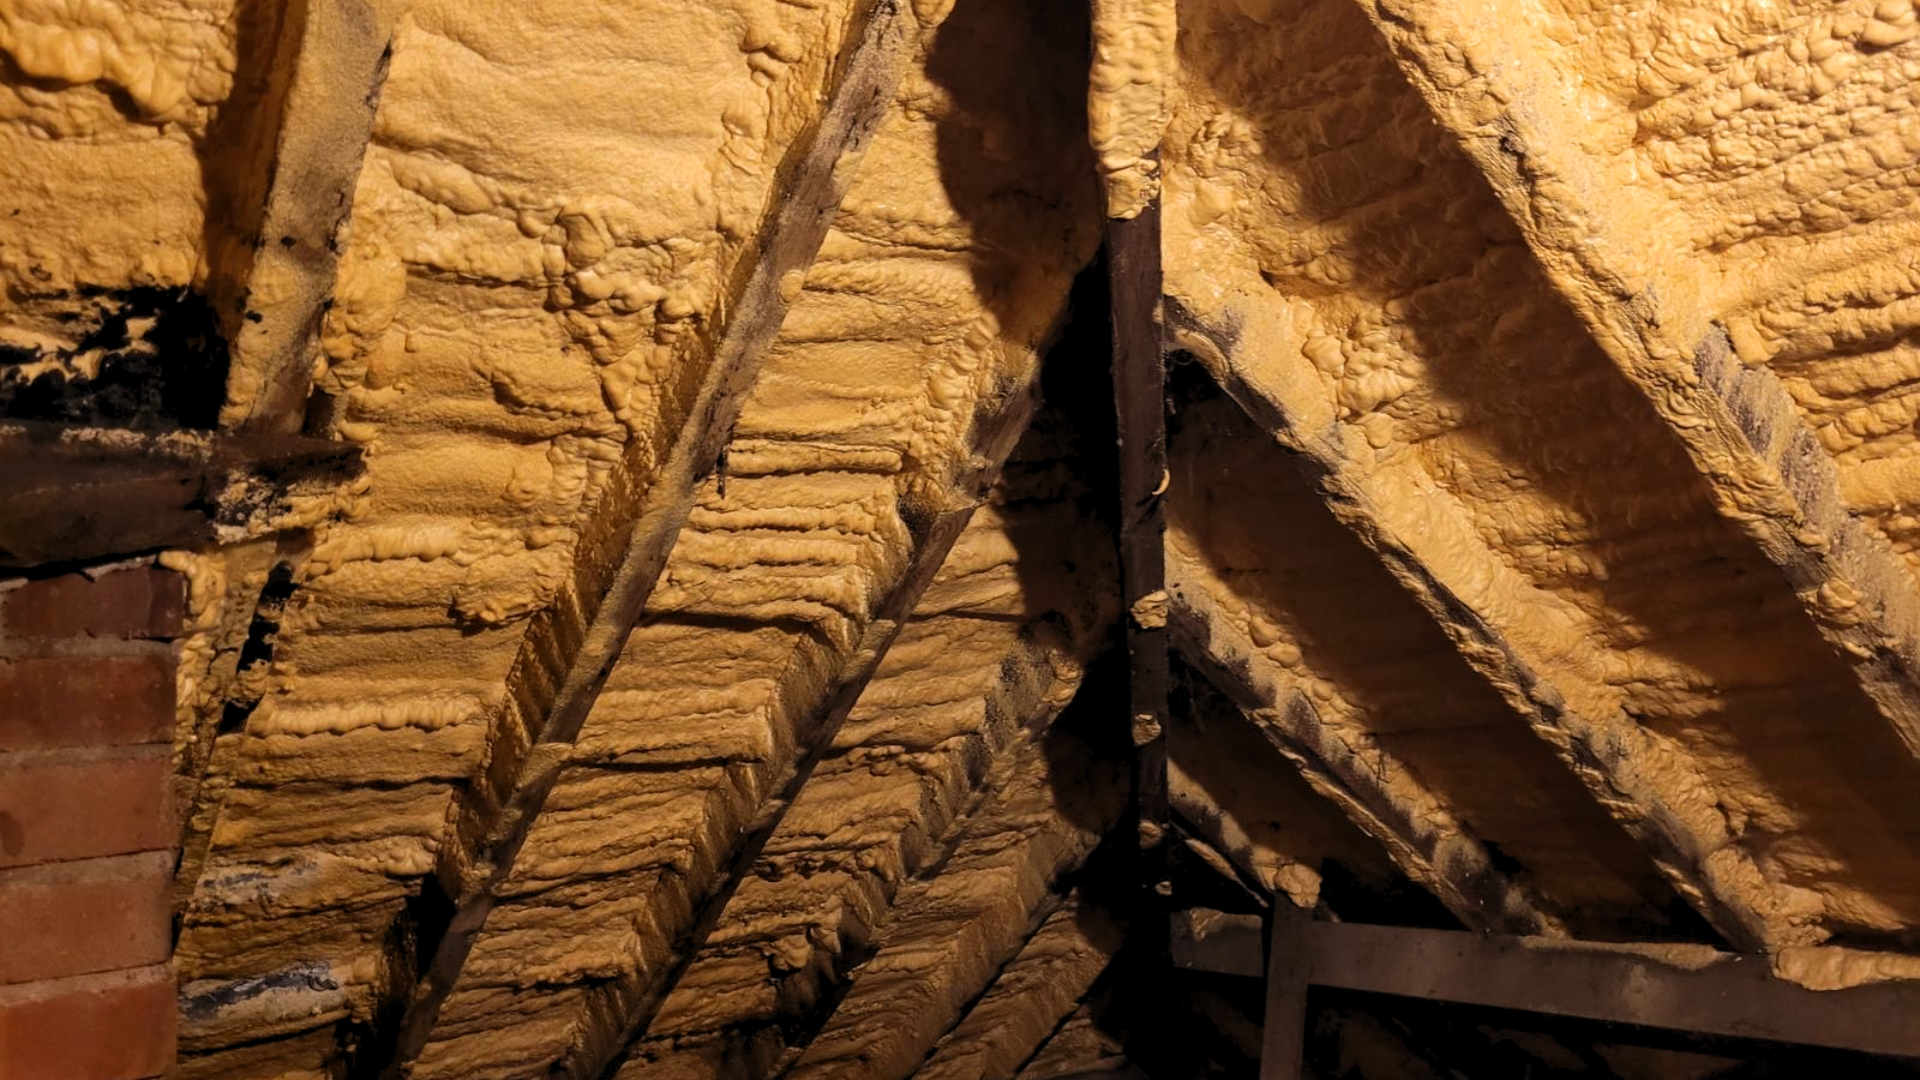
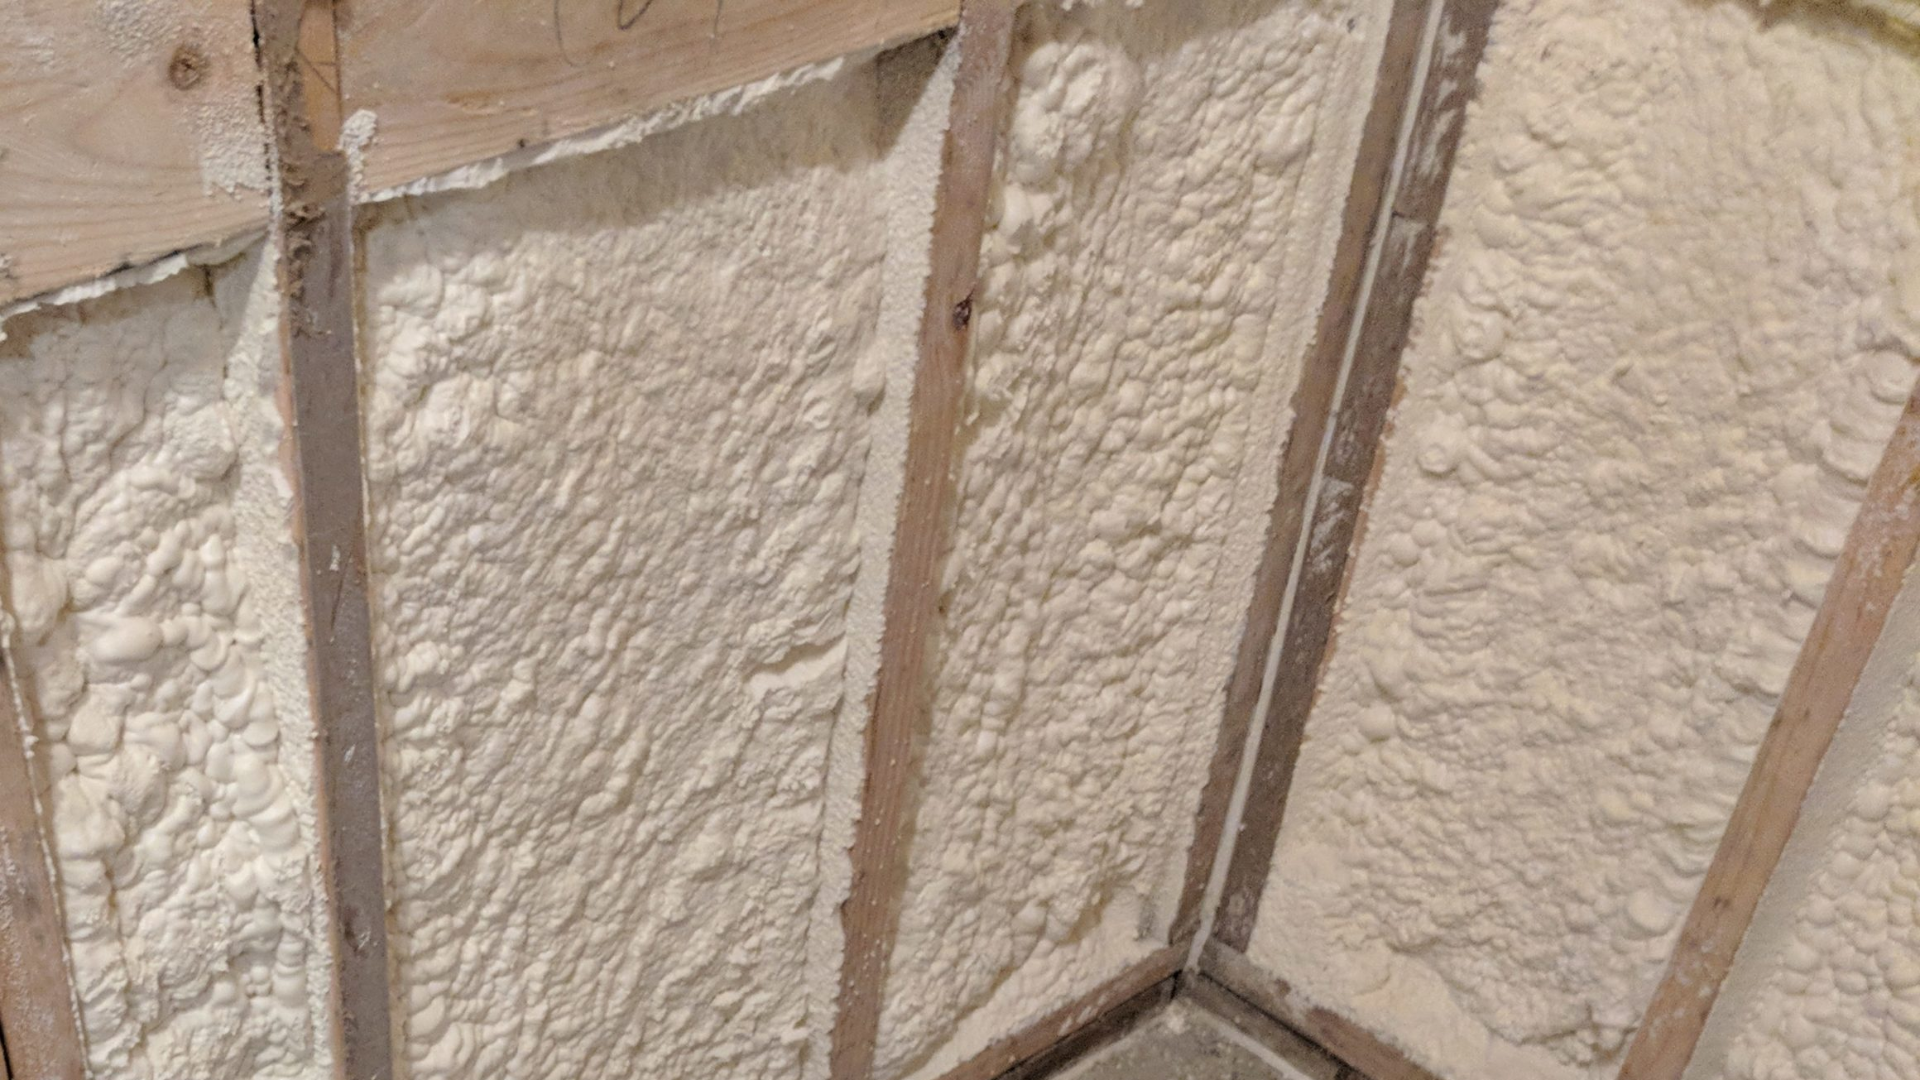
Spray foam insulation is a remarkable solution that enhances your home's energy efficiency by sealing gaps and preventing heat loss. However, there are instances when its removal becomes necessary. Understanding the reasons behind insulation removal is crucial before diving into the DIY process. This will ensure that you approach the task with confidence.
The Challenges and Why You Need Lofteaze's DIY Guide
Removing spray foam insulation can be a daunting task, especially for DIYers. The material's adhesive nature and expansive properties can lead to tricky removal situations. Additionally, improper removal can damage surfaces, cause mess, and even pose health risks. This is where Lofteaze comes to the rescue with our step-by-step DIY guide. We're here to help you navigate through these challenges efficiently and safely.
Gathering the Necessary Tools and Equipment
To embark on a successful spray foam insulation removal journey, you need the right tools by your side. Here's a list of essentials:
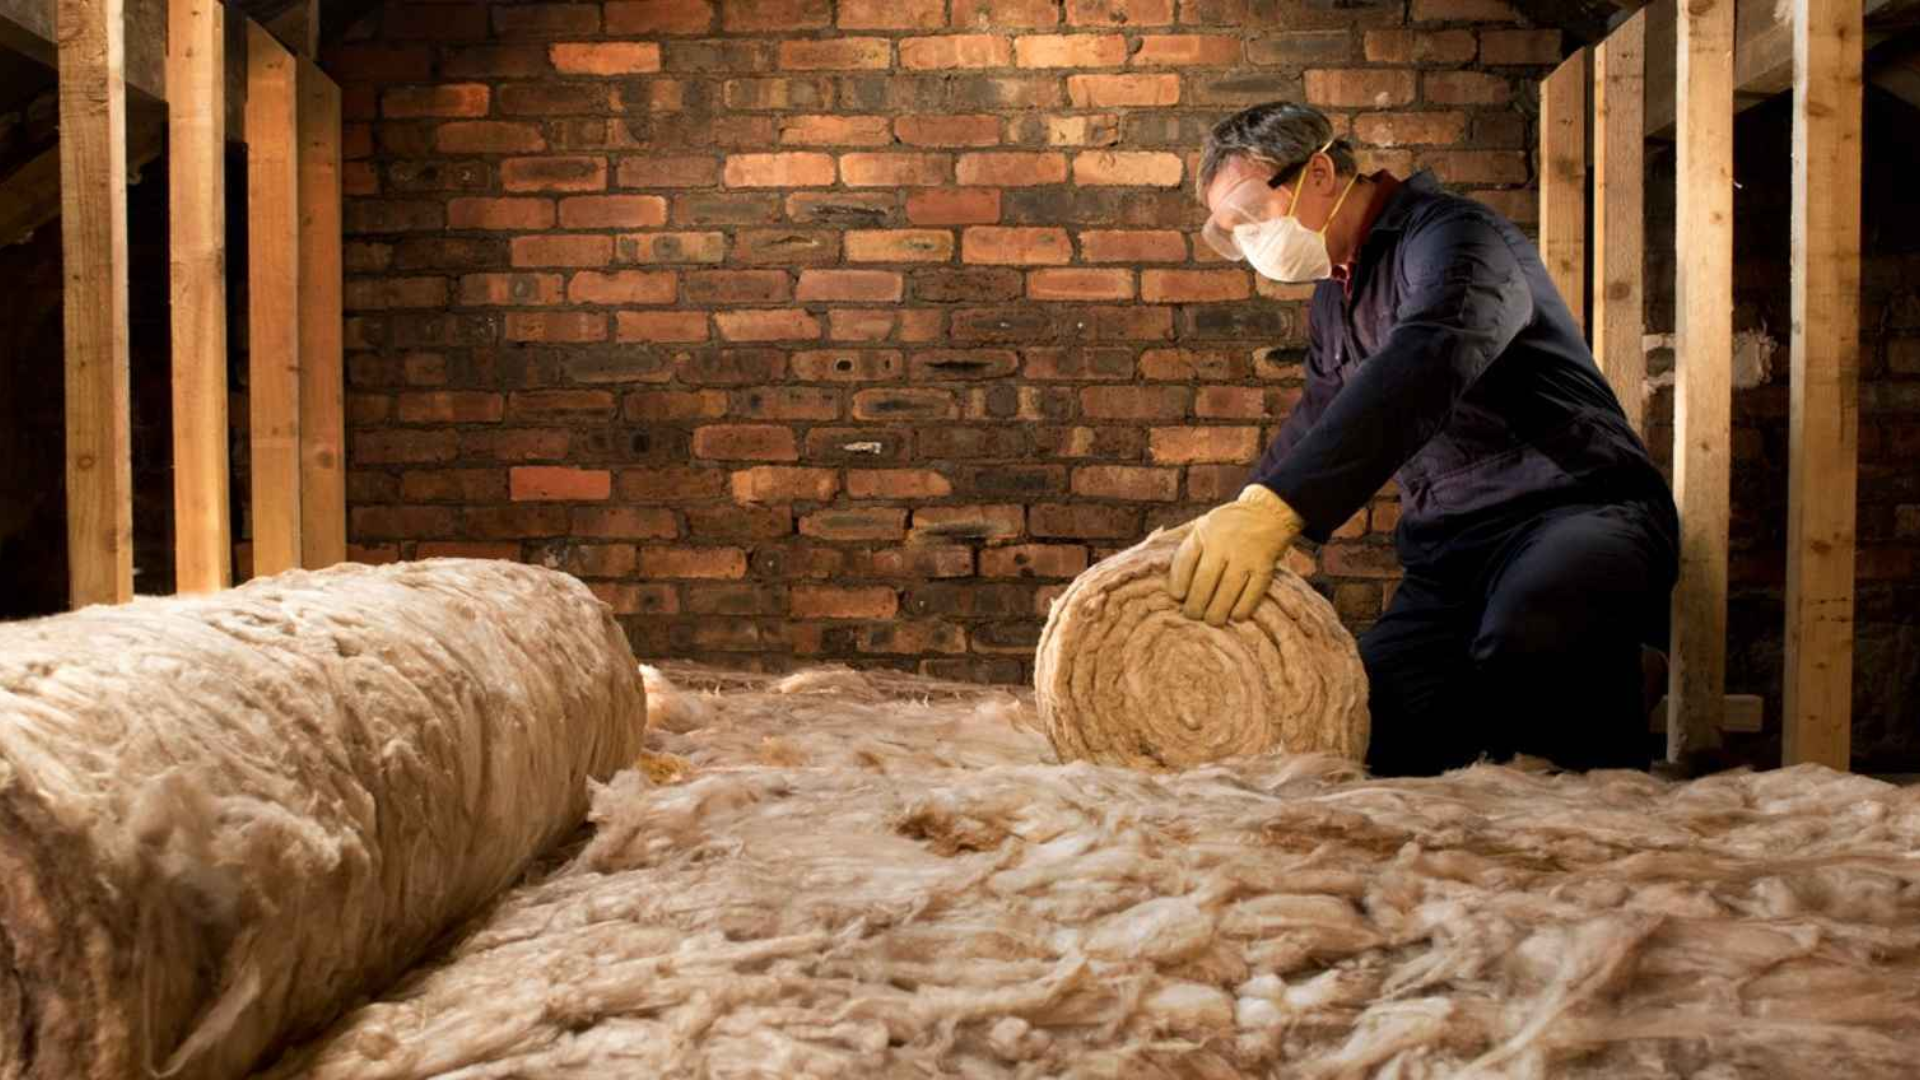
- Protective Gear: Safety goggles, gloves, and a mask to shield yourself from debris and fumes.
- Utility Knife: Used for cutting and slicing through insulation material.
- Scraper and Spatula Tools: These help in gently prying off insulation from surfaces.
- Heat Gun: For softening the foam and making it easier to remove.
- Vacuum Cleaner: To effectively clean up removed insulation and debris.
- Drop Cloths and Plastic Sheeting: These protect your space from mess during the removal process.
Step-by-Step Spray Foam Insulation Removal Guide
Follow our comprehensive step-by-step guide to ensure a smooth insulation removal process:
Step 1: Preparing the Work Area
- Clear the space of furniture and belongings.
- Lay down drop cloths and plastic sheeting to catch debris.
Step 2: Assessing the Insulation
- Identify the type of spray foam insulation used.
- Determine the extent of removal required.
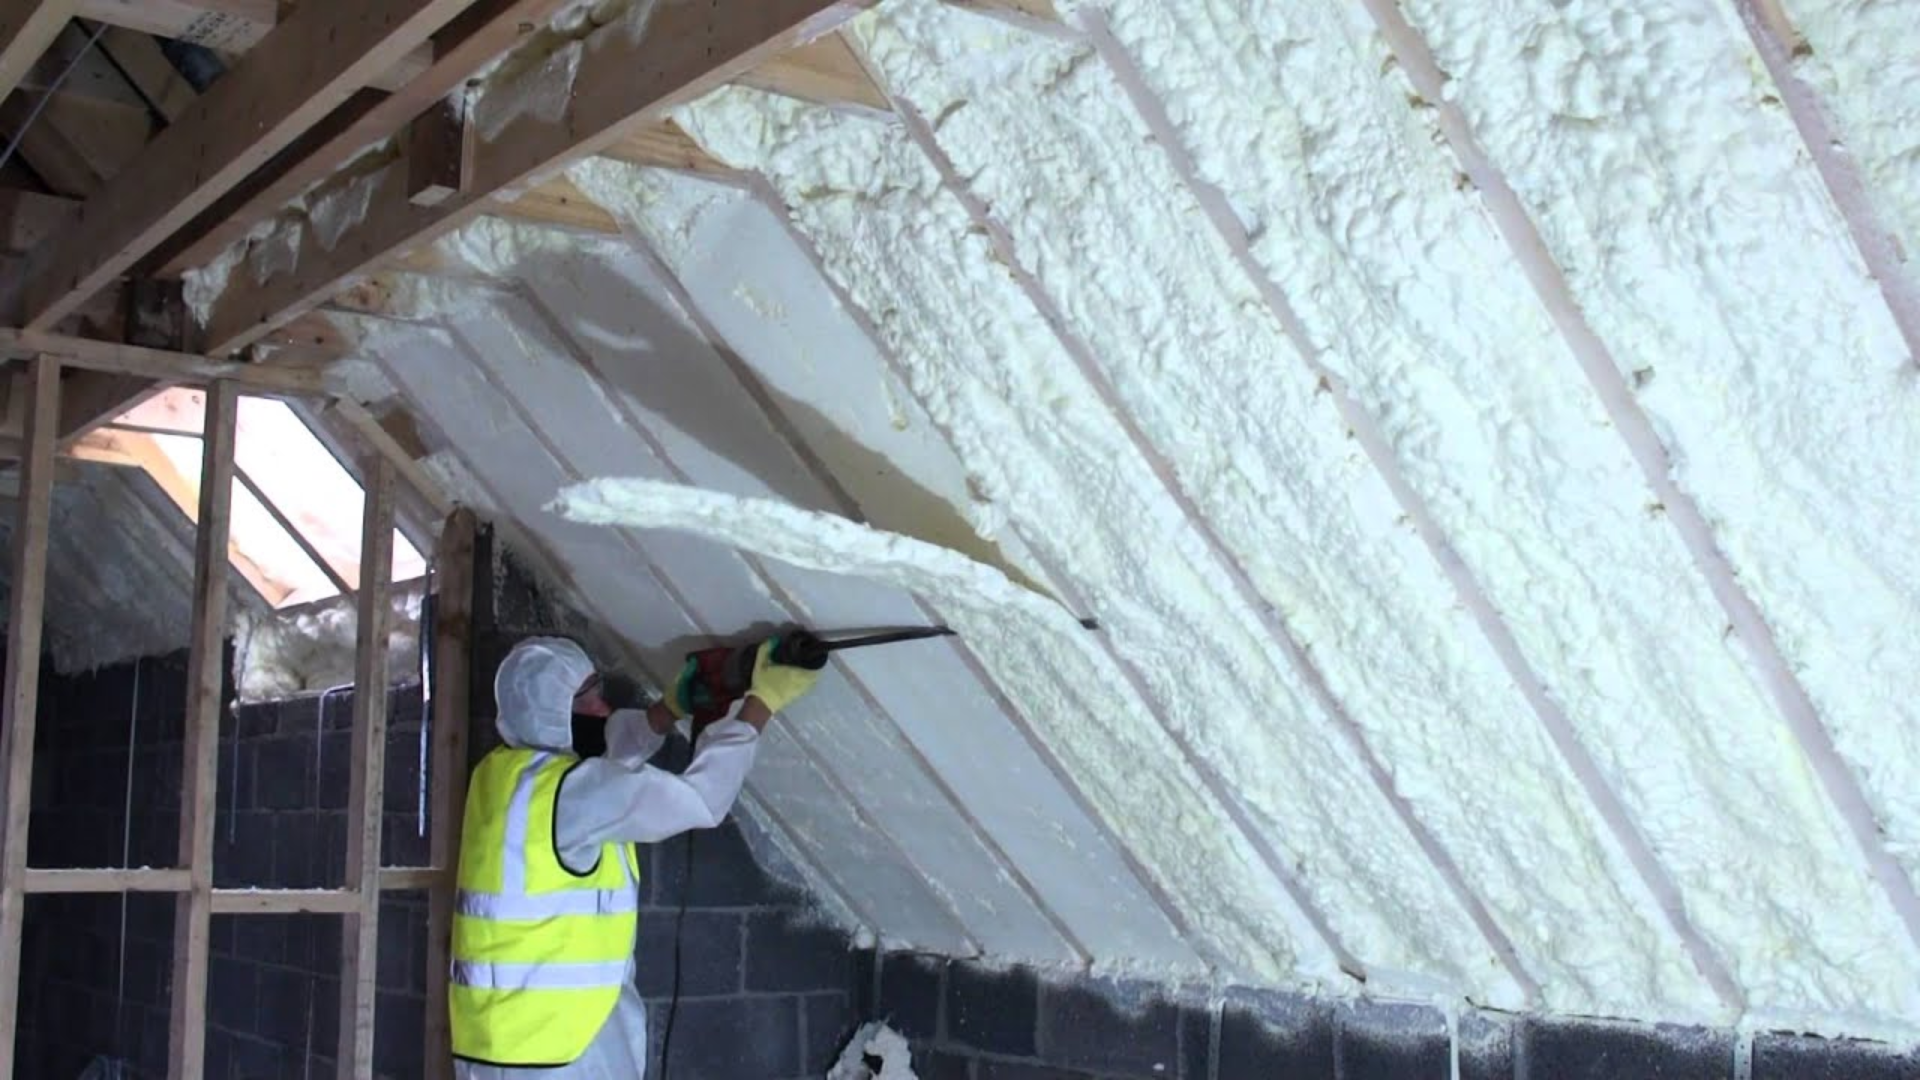
Step 3: Protective Gear and Safety Measures
- Put on safety goggles, gloves, and a mask.
- Ventilate the area by opening windows and using fans.
Step 4: Using the Proper Tools for Removal
- Use a utility knife to carefully cut away excess insulation.
- Gently scrape off foam using scraper tools.
Step 5: Removing the Insulation Safely
- Soften the foam using a heat gun on low setting.
- Gradually peel away the foam using spatula tools.
Step 6: Cleaning Up the Area
- Vacuum the space to remove insulation particles.
- Dispose of insulation debris responsibly.
Dealing with Challenges and Tips for Success
Insulation removal can present challenges. Here are some tips to navigate them:
- Adhesive Residue: Use rubbing alcohol to dissolve adhesive residue.
- Hardened Foam: For stubborn spots, carefully sand away the foam residue.
- Surface Protection: Use plastic scrapers on delicate surfaces to avoid damage.
- Work in Sections: Tackle removal in small sections to maintain control.
Proper Disposal and Environmental Considerations
Responsibly disposing of removed insulation is crucial for environmental wellbeing. Follow these guidelines:
- Recycling Options: Check if your local recycling facility accepts foam insulation.
- Landfill Disposal: If recycling isn't possible, dispose of insulation at a designated landfill.
Benefits of a DIY Approach with Lofteaze
Opting for a DIY approach using Lofteaze's guide offers numerous advantages:
- Cost Savings: Avoid professional removal costs.
- Empowerment: Gain the satisfaction of completing a home improvement task.
- Convenience: Work at your pace and schedule.
- Expert Guidance: Benefit from Lofteaze's expertise throughout the process.
Conclusion
In conclusion, spray foam insulation removal might seem like a challenging task, but with the right tools, knowledge, and guidance from Lofteaze, you can confidently tackle it. Our comprehensive DIY guide ensures that you can efficiently remove insulation while maintaining safety and environmental responsibility.
Ready to get started? Visit our contact page to learn more about Lofteaze's DIY resources, ask questions, and share your successful insulation removal stories. Empower yourself with DIY home improvement today!
Book an appointment