DIY Disasters: Learn from Common Mistakes in Spray Foam Insulation Removal
Avoiding mistakes in DIY spray foam insulation removal
When it comes to home improvement projects, the allure of the do-it-yourself (DIY) approach is undeniable. It offers a sense of accomplishment and the potential to save money. However, not all DIY projects are created equal, and one that often catches homeowners off guard is spray foam insulation removal. At Lofteaze, we understand the appeal of taking matters into your own hands, but we also recognise the potential pitfalls that can arise from inexperience or oversight. In this article, we delve into the world of DIY spray foam insulation removal, shedding light on common mistakes and offering expert advice to help you avoid them.
Understanding the Importance of Proper Spray Foam Insulation Removal
When tackling any DIY project, it's crucial to understand why you're doing it in the first place. In the case of spray foam insulation removal, there are several compelling reasons to take on this task.
Benefits of Removing Old or Damaged Insulation
- Enhanced energy efficiency: Removing old or damaged spray foam insulation allows for the installation of new, more efficient insulation, resulting in reduced energy bills.
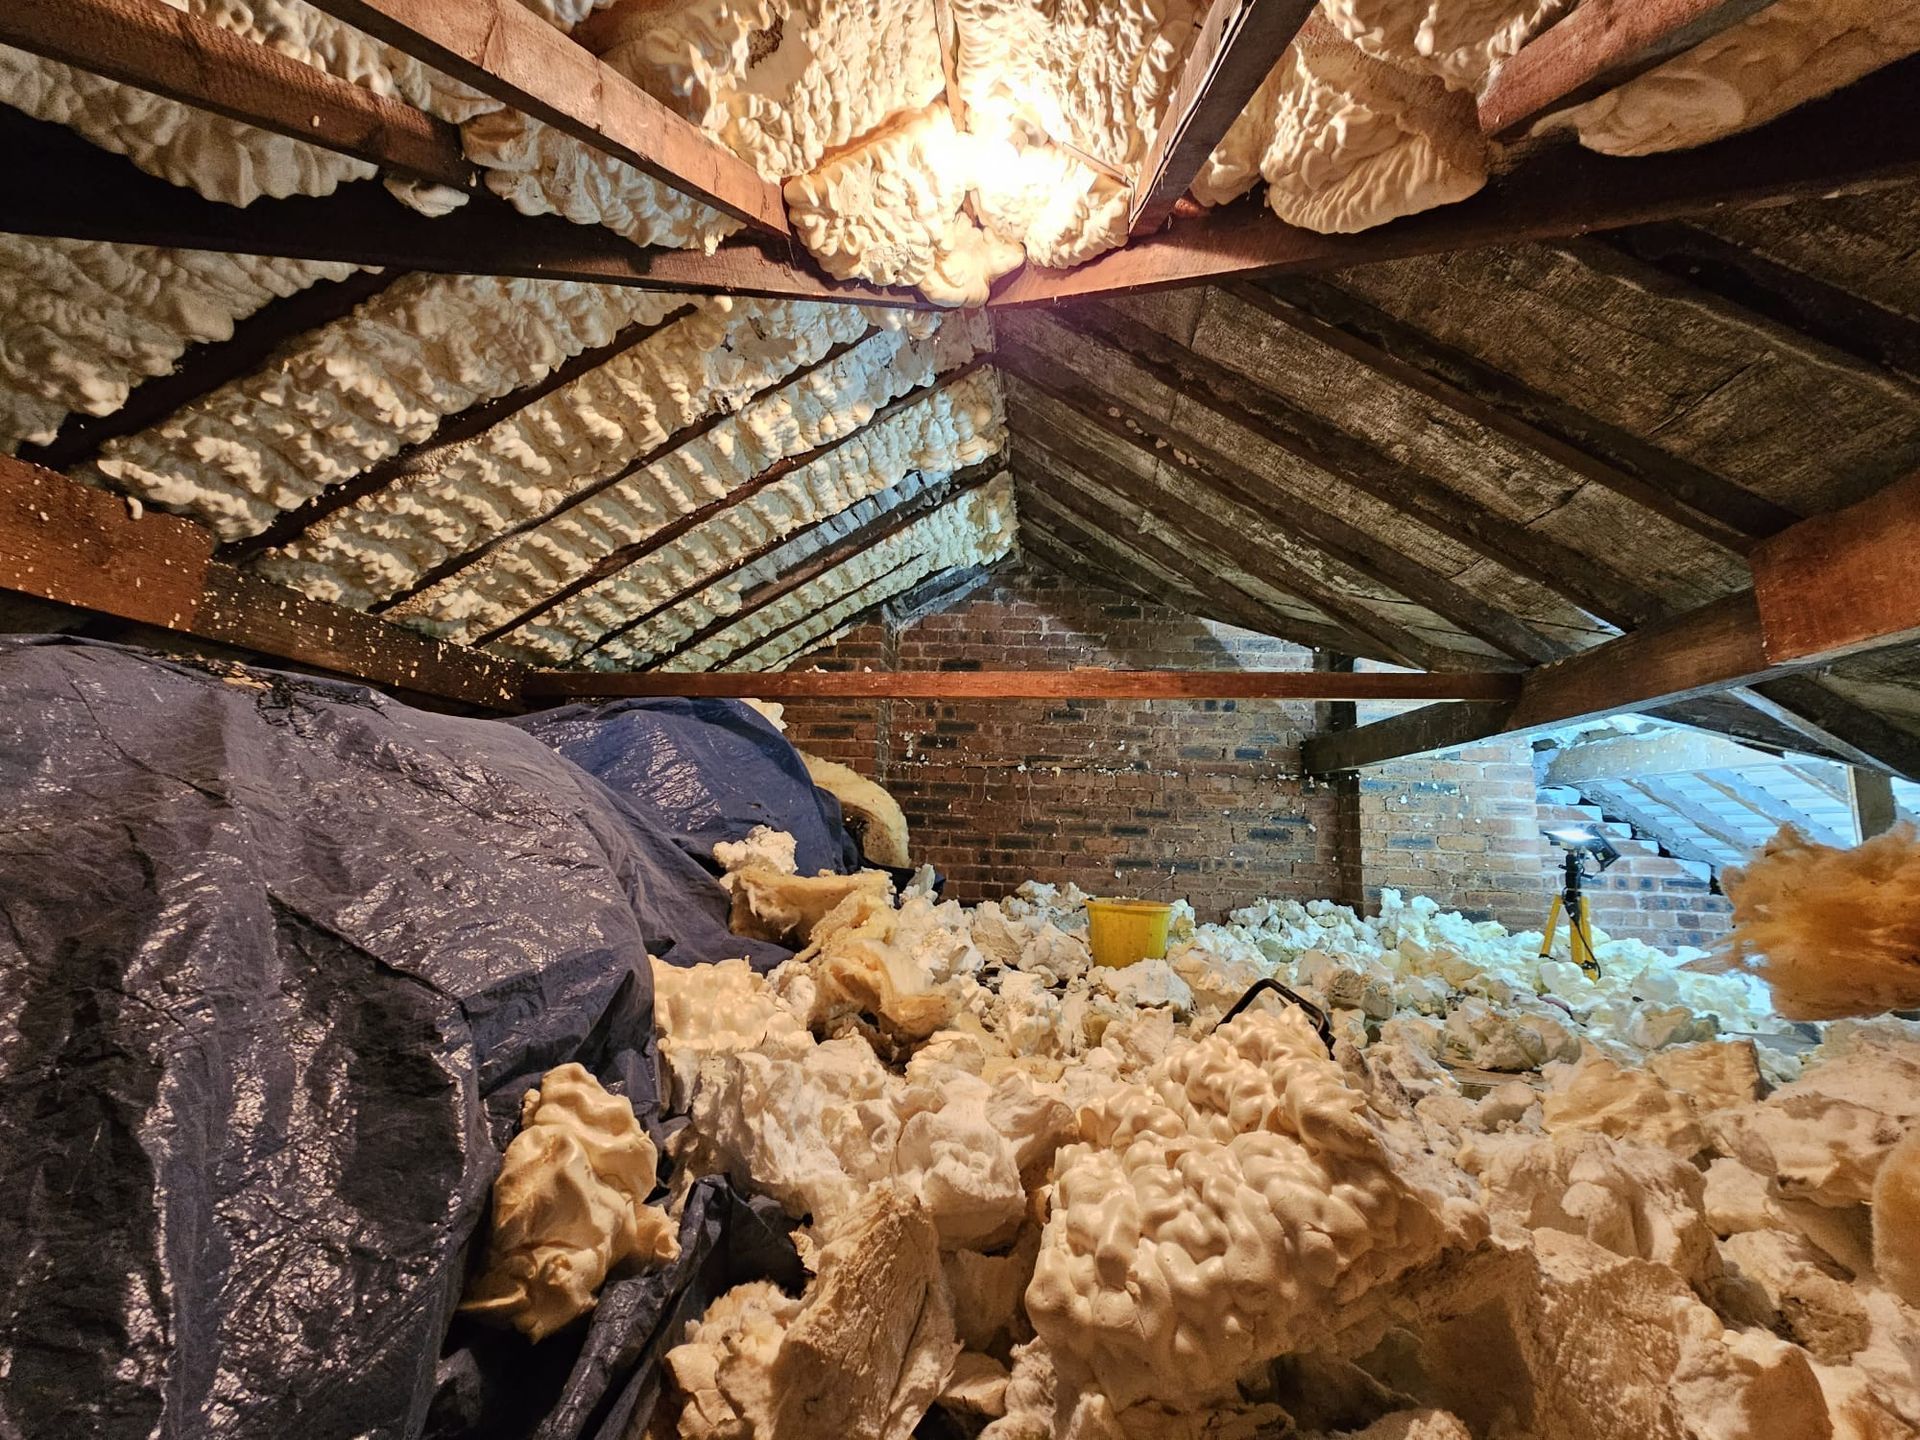
- Improved indoor air quality: Over time, insulation can accumulate dust, debris, and even mould. Proper removal helps maintain a healthy living environment.
Consequences of Improper Removal
- Health hazards: Inadequate protective gear and poor ventilation can expose you to harmful fumes and particles during removal.
- Structural damage: Improper removal techniques can lead to unintended damage to walls, ceilings, and other surfaces.
Common Mistakes to Avoid During DIY Spray Foam Insulation Removal
Avoiding mistakes during DIY spray foam insulation removal requires a combination of knowledge, preparation, and careful execution. Let's delve into some common blunders and how to steer clear of them.
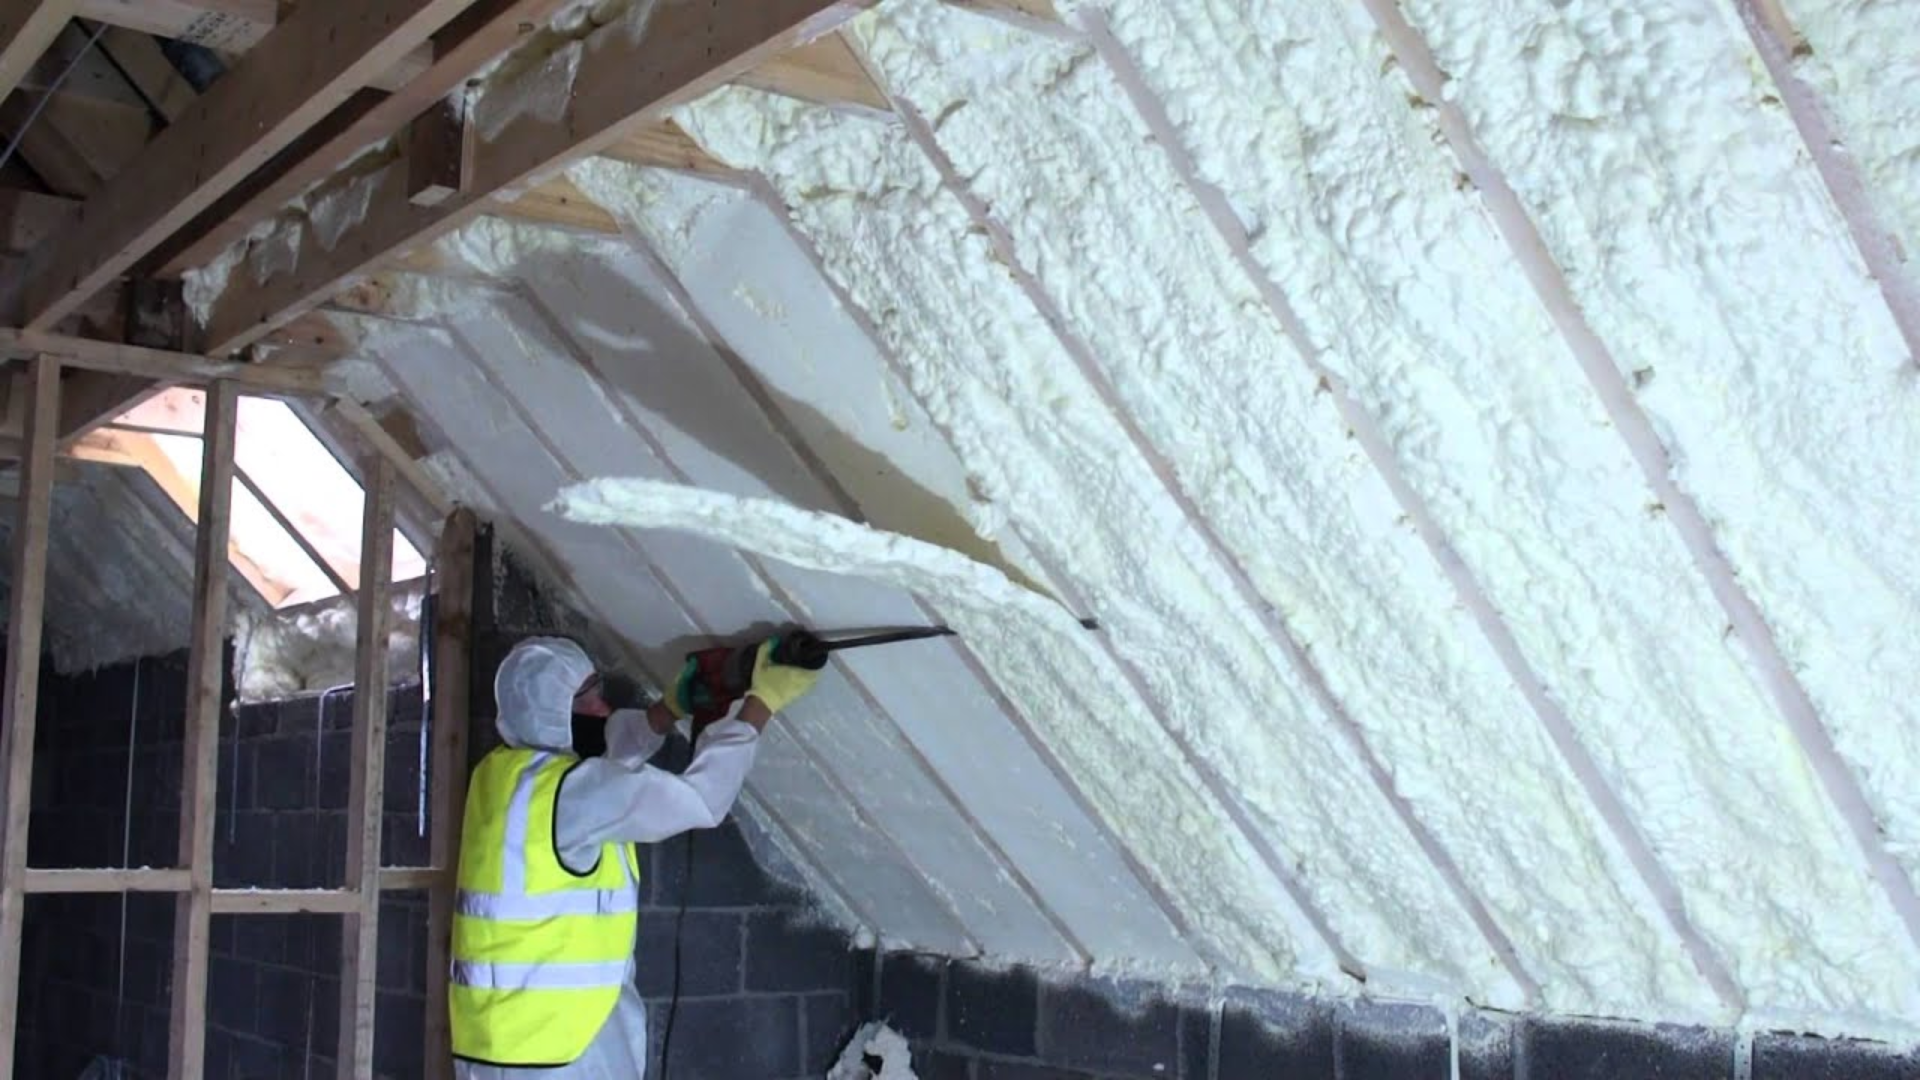
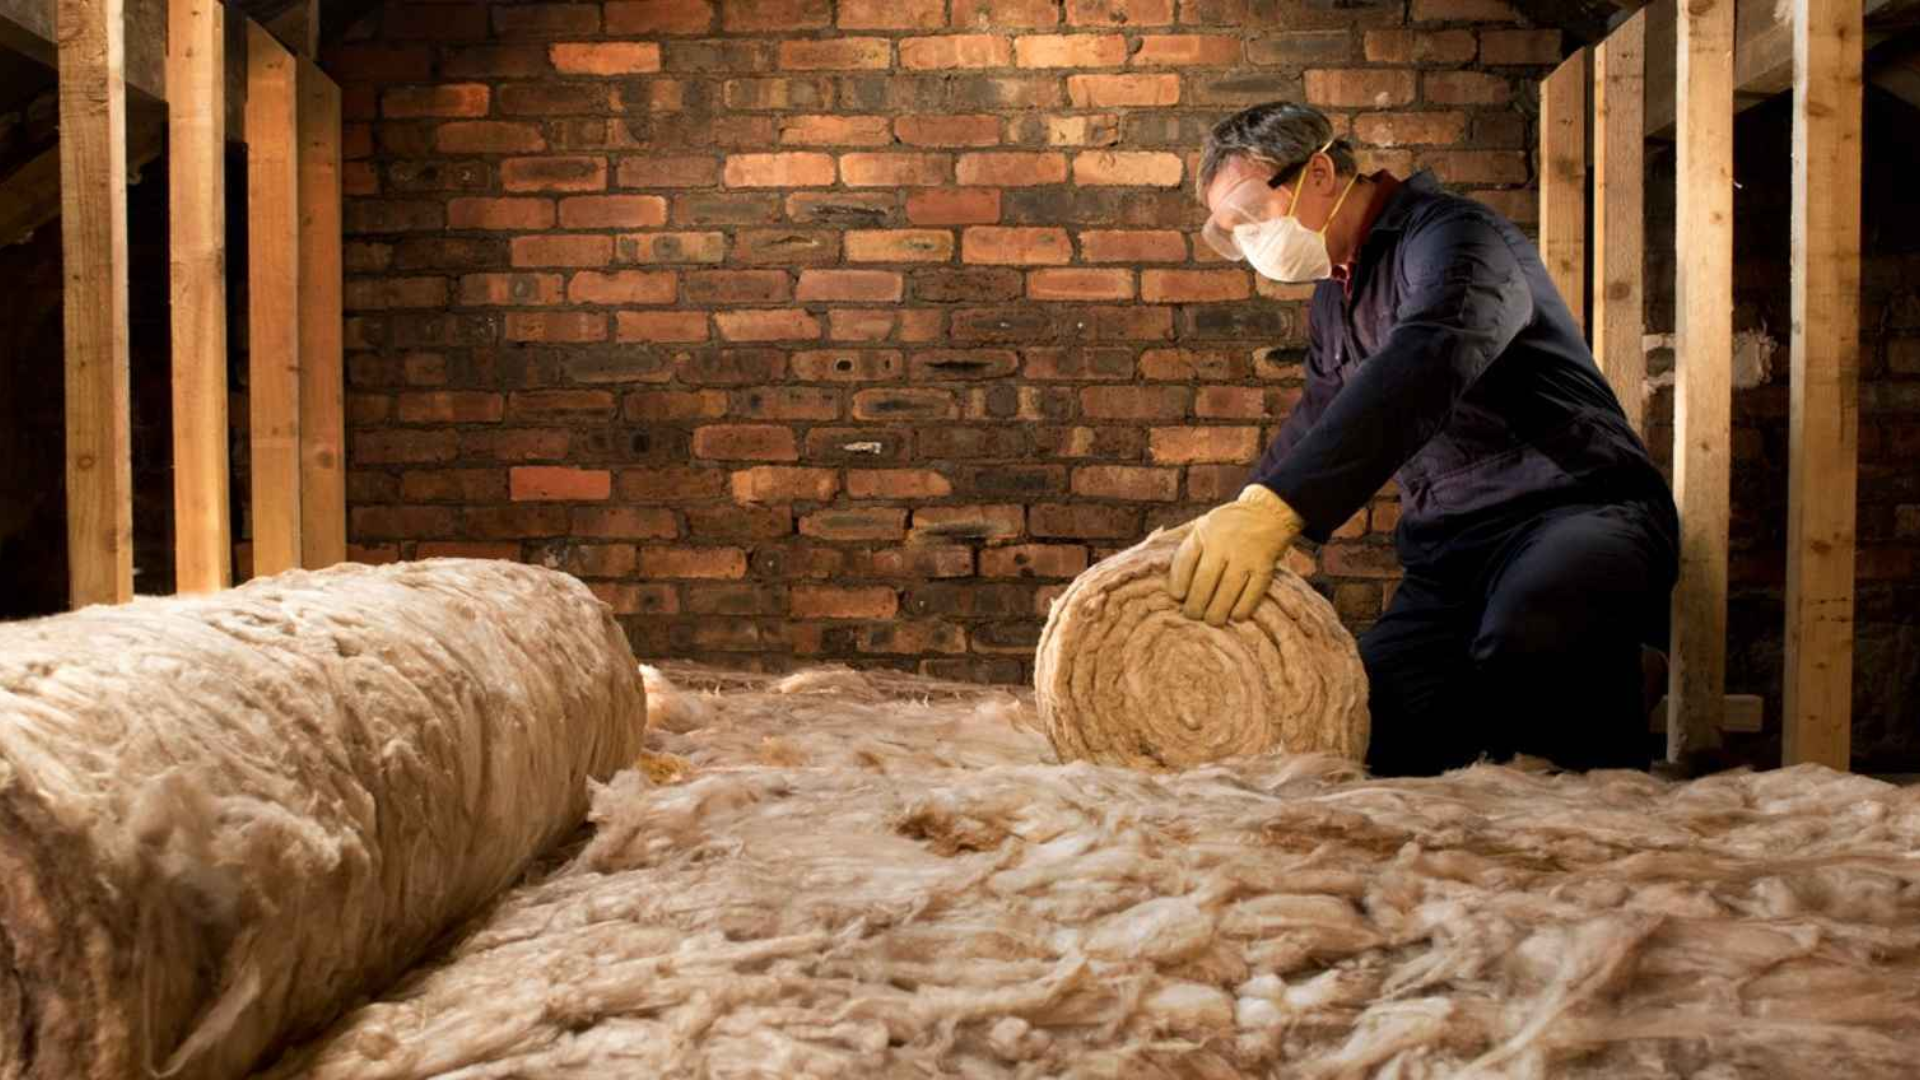
Insufficient Protective Gear
Wearing appropriate protective gear is not just a suggestion—it's a necessity. [Insert Personal Anecdote: Share a story of someone attempting insulation removal without proper gear and the consequences they faced.] Protect yourself by wearing goggles, a mask, gloves, and clothing that covers your skin.
Inadequate Ventilation
Proper ventilation is crucial to prevent the buildup of fumes and particles during removal. Make sure to open windows and use fans to ensure a steady flow of fresh air.
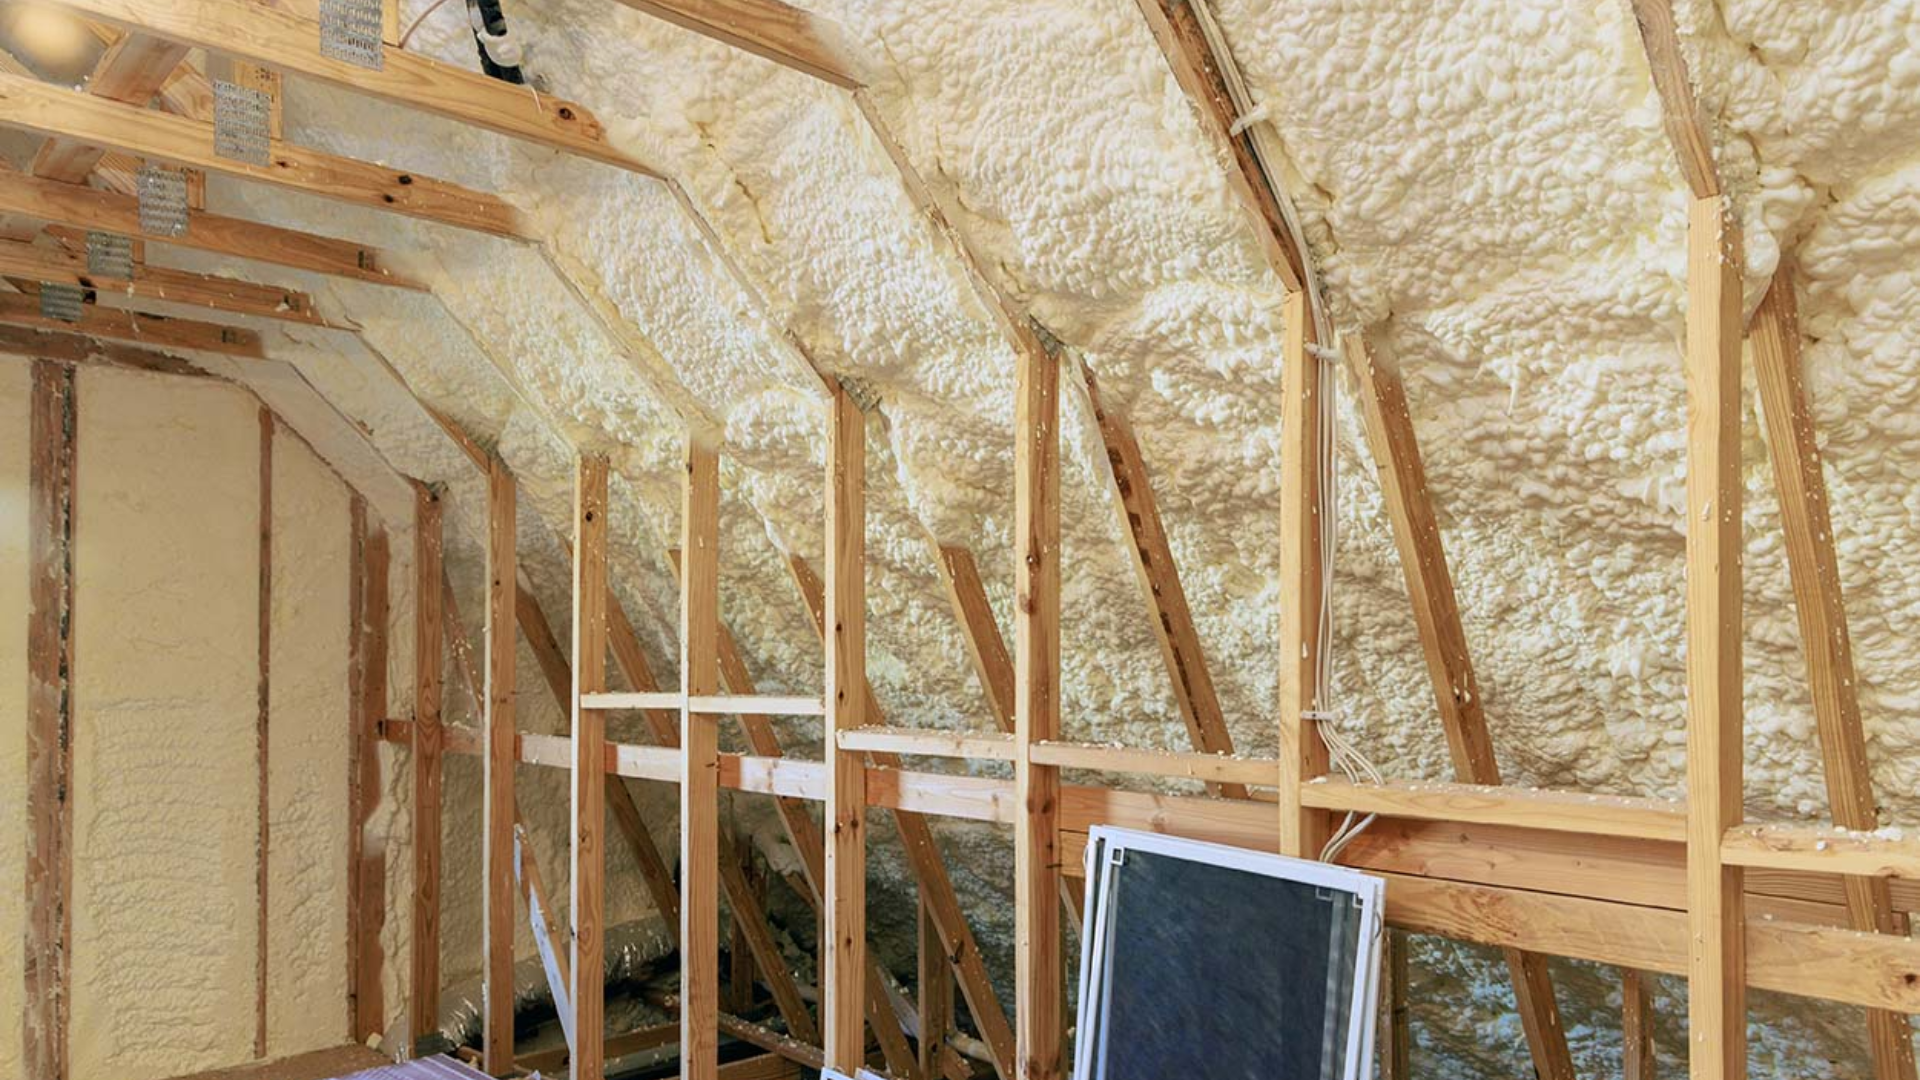
Improper Removal Techniques
Rushing through the removal process can lead to messy and inefficient results. Instead, follow a systematic approach, using proper tools such as scrapers, saws, and protective covers for nearby surfaces.
Lack of Proper Tools
Using the right tools can make a world of difference in the success of your DIY project. Equip yourself with a variety of tools, including insulation removal machines and cutting tools, to make the process smoother and safer.
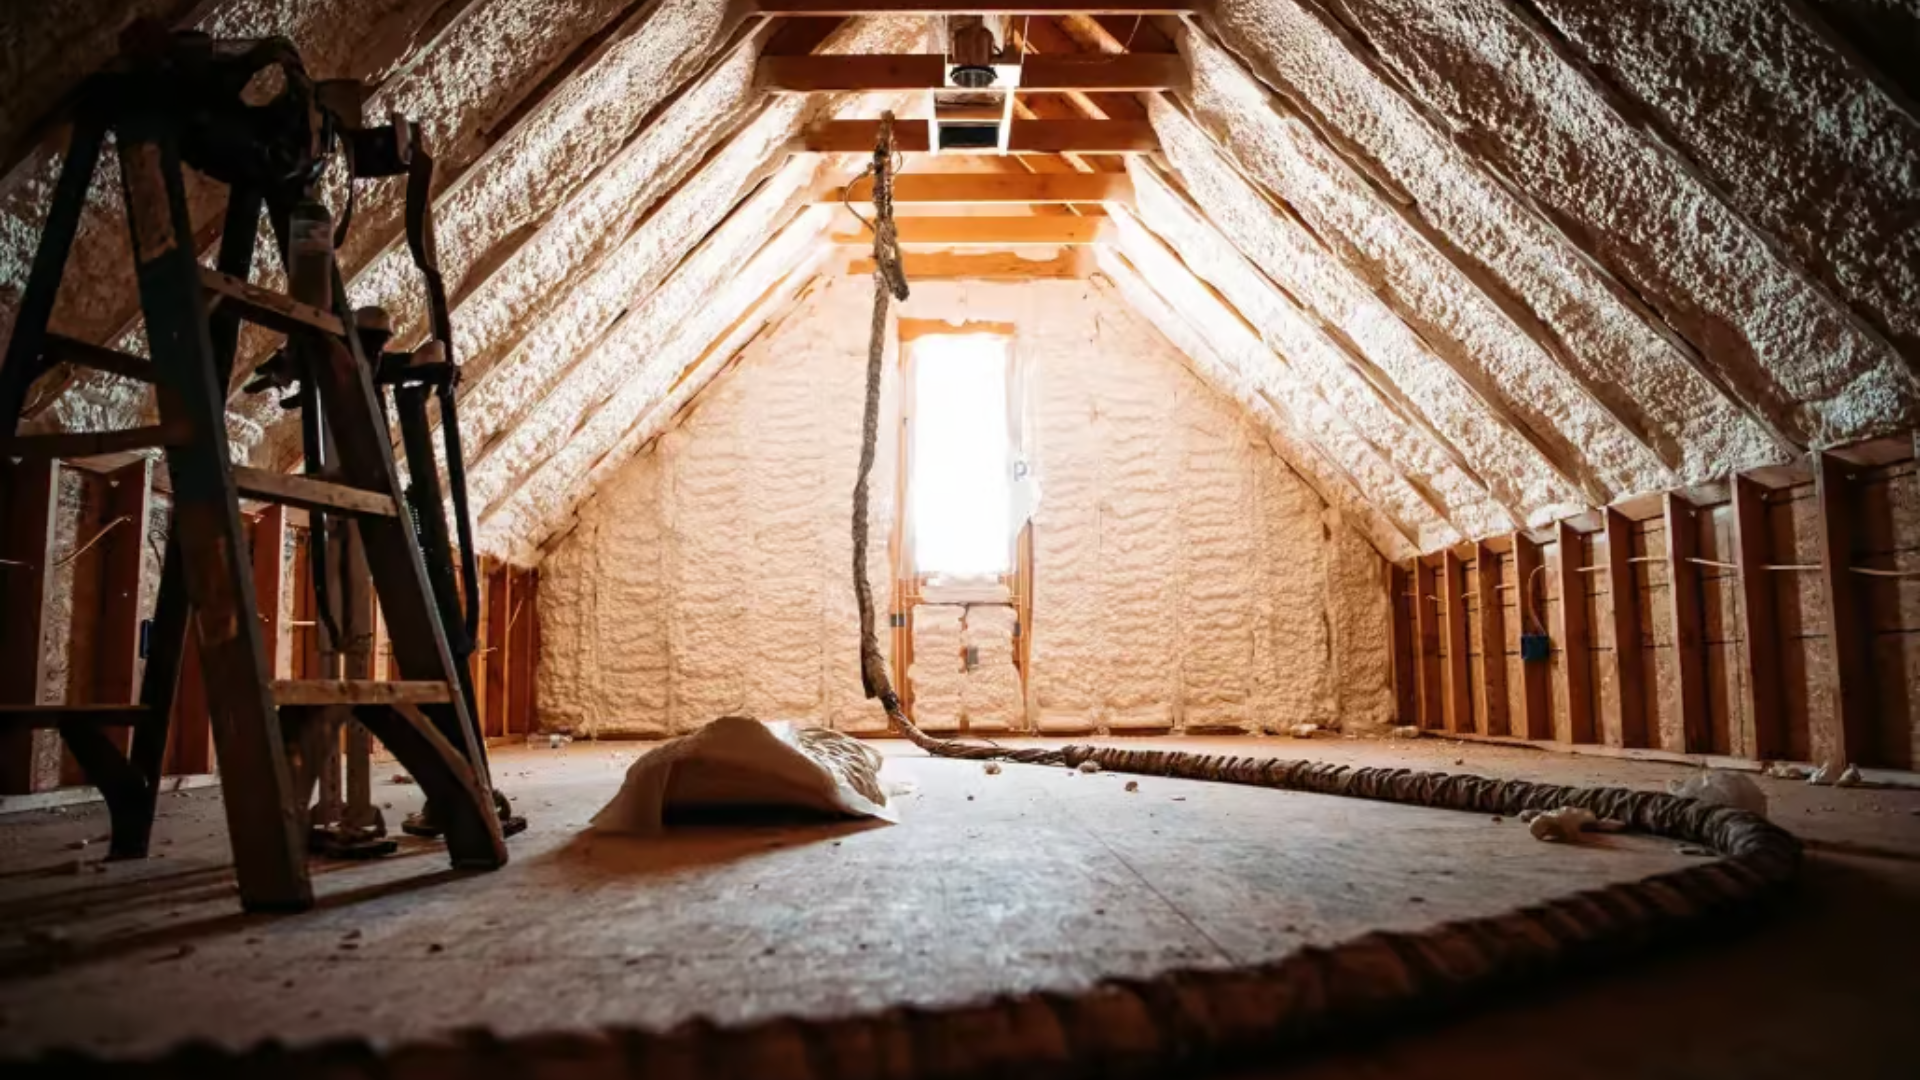
Neglecting Structural Considerations
Before you start removing insulation, assess the structural integrity of your home. Failing to do so could result in unintentional damage. Take your time to identify potential problem areas and plan your removal strategy accordingly.
Learning from Real-Life DIY Spray Foam Insulation Removal Disasters
To drive home the importance of avoiding common mistakes, let's take a look at real-life examples of DIY spray foam insulation removal gone wrong.
Case Study: The Hasty Removal In this scenario, a homeowner attempted to remove spray foam insulation quickly, without proper gear or ventilation. The result? Lingering odours, health issues, and the need to redo the entire project.
Case Study: The Structural Oversight Another homeowner dove into insulation removal without considering the structural implications. As a result, they accidentally damaged the ceiling, leading to unexpected repair costs.
Expert Tips for a Successful DIY Spray Foam Insulation Removal
At Lofteaze, we're committed to helping you succeed in your insulation removal project. Here are some expert tips to guide you along the way:
Safety First Always prioritise safety. Invest in high-quality protective gear and ensure proper ventilation throughout the removal process.
Plan and Prepare Before you start, gather all necessary tools and materials. Create a plan of action to ensure a smooth and organised removal process.
Take Your Time Avoid rushing through the removal process. Patience and attention to detail will yield better results and help you avoid costly mistakes.
Seek Professional Help When Needed If you're uncertain about any aspect of the removal process, don't hesitate to seek professional assistance. It's better to invest in expert help than risk making irreversible errors.
Conclusion
Removing spray foam insulation may seem like a straightforward task, but it requires careful consideration and proper execution to avoid common pitfalls. By learning from mistakes, prioritising safety, and following expert advice, you can tackle this DIY project with confidence.
If you're gearing up for a DIY spray foam insulation removal project, remember that Lofteaze is here to support you every step of the way. For guidance, tools, and high-quality insulation solutions, visit our
contact page today. Your home's comfort and efficiency are within reach.
Book an appointment